

Introduction: Why Home Ventilation Matters More Than You Think
When thinking about home improvement, homeowners often focus on visible upgrades—stylish floors, smart lighting, or eco-friendly insulation. But one silent, often overlooked system impacts nearly every corner of your living space: ventilation. Proper ventilation is the unsung hero of a healthy, comfortable, and energy-efficient home. It keeps indoor air fresh, controls humidity, prevents mold, and even protects the building structure over time. Yet, many homeowners—DIY enthusiasts and pros alike—make costly mistakes with their home ventilation systems, leading to higher energy bills, poor air quality, and expensive repairs down the line.
This in-depth guide explores the most common home ventilation mistakes, from blocked vents to poorly placed exhaust fans, and offers practical, step-by-step fixes. Whether you’re renovating, tackling a DIY project, or simply want to ensure your home’s air is as healthy as possible, understanding these pitfalls will save you money, time, and headaches. Ready to breathe easier? Let’s dive into the crucial errors to avoid and the smart solutions that will keep your home fresh and efficient for years to come.
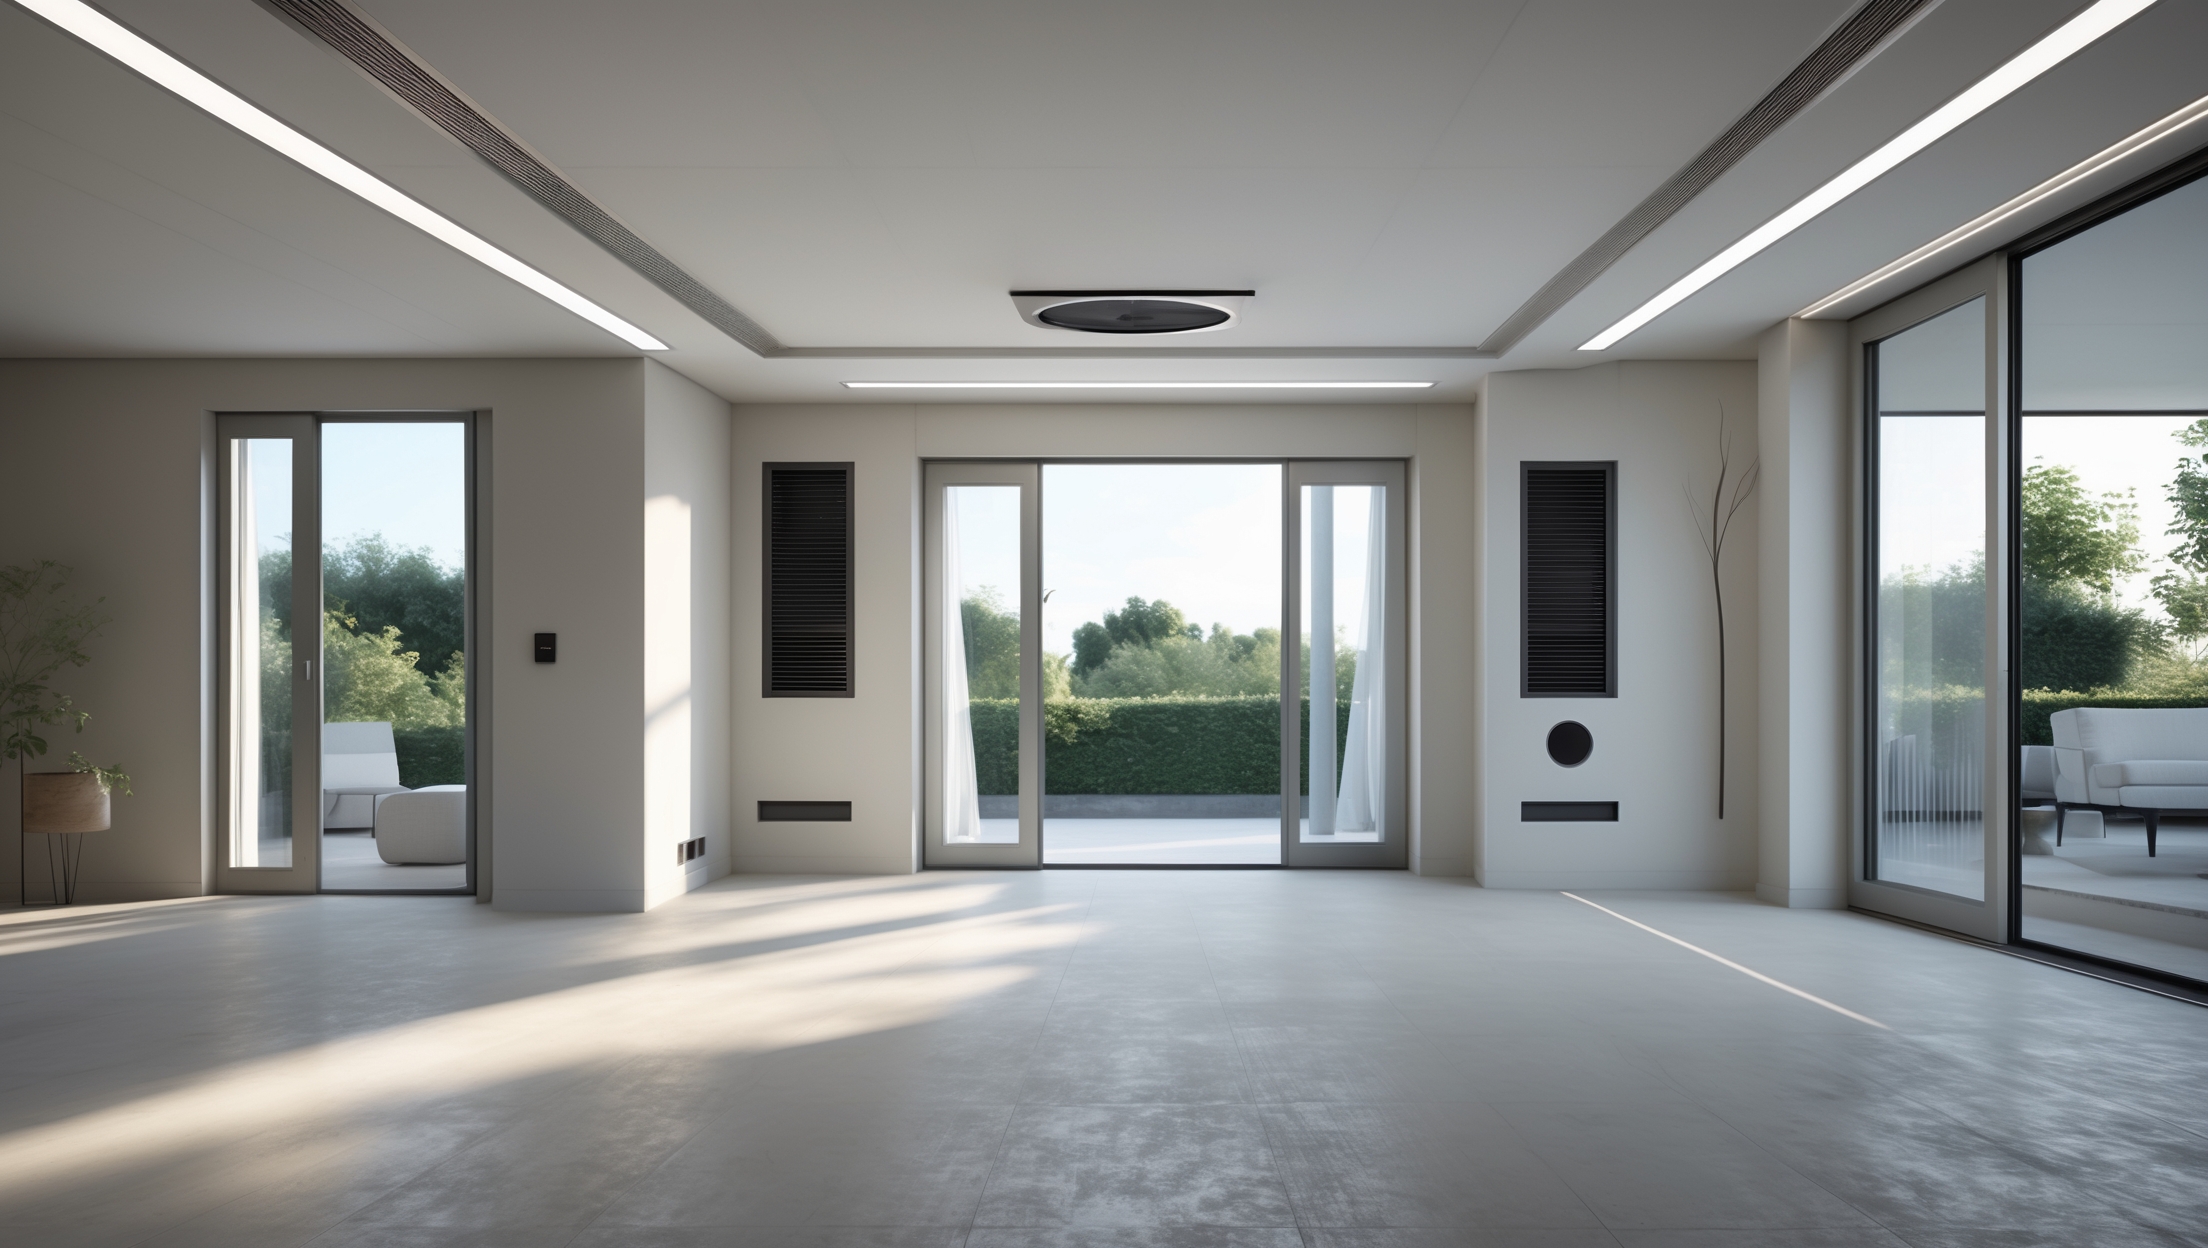
Understanding the Basics: What Is Home Ventilation?
Types of Home Ventilation
- Natural Ventilation: Relies on openings like windows, doors, and vents to allow fresh air in and stale air out.
- Mechanical Ventilation: Uses fans, ductwork, and exhaust systems to move air throughout the home.
- Spot Ventilation: Targets specific areas (e.g., bathroom exhaust fans, kitchen range hoods).
- Whole-House Ventilation: Integrates mechanical systems to provide balanced, consistent airflow to every room.
Why Is Ventilation So Important?
- Controls indoor humidity and prevents mold/mildew.
- Reduces buildup of indoor pollutants (VOCs, carbon monoxide, allergens).
- Protects structural components (e.g., prevents rot in attics and basements).
- Improves heating/cooling efficiency and lowers energy costs.
Beginner Mistake #1: Blocking or Covering Air Vents
The Hidden Costs
It’s tempting to place furniture over a floor register or to close off unused room vents to “save energy.” Unfortunately, blocking vents disrupts airflow, causing your HVAC system to work harder and less efficiently. This can lead to:
- Increased energy bills
- Uneven heating/cooling
- System wear and potential damage
Practical Fixes
- Keep all supply and return vents unobstructed by furniture, rugs, or boxes.
- Regularly inspect vents for dust buildup and vacuum as needed.
- Use vent deflectors if furniture placement is unavoidable.
Beginner Mistake #2: Ignoring Exhaust Fan Maintenance
Why It’s a Problem
Exhaust fans in bathrooms and kitchens are essential for removing moisture and odors. Neglecting their maintenance leads to poor air quality, lingering smells, and, worst of all, a breeding ground for mold and mildew.
Step-by-Step Maintenance
- Turn off power at the breaker before cleaning.
- Remove the fan cover and clean with mild soap and water.
- Use a vacuum with a brush attachment to remove dust from the fan blades and motor.
- Check for proper operation and replace the fan if it sounds noisy or vibrates excessively.
- Repeat every 6-12 months for optimal performance.
Beginner Mistake #3: Skipping Kitchen Range Hood Installation or Upgrades
The Consequences
Grease, smoke, and cooking odors cling to surfaces and linger without proper ventilation. Many homeowners either skip installing a range hood or install a recirculating model that does little to remove pollutants.
Smart Solutions
- Install a ducted range hood that vents outside whenever possible.
- For recirculating models, replace filters every 3-6 months.
- Use the range hood whenever cooking—especially for frying or boiling.
Beginner Mistake #4: Overlooking Attic and Roof Ventilation
Why It Matters
Poor attic ventilation causes heat buildup in summer (raising cooling costs) and moisture accumulation in winter (leading to mold, wood rot, and ice dams).
Best Practices
- Ensure a balanced system: Intake vents (soffit) allow cool air in; exhaust vents (ridge, gable, or roof vents) let hot air escape.
- Inspect vents for blockages (insulation, debris, nests) at least twice a year.
- Aim for 1 square foot of venting for every 300 square feet of attic space (check local codes).
Beginner Mistake #5: Failing to Vent Clothes Dryers Outside
The Dangers
Venting your dryer indoors (or into attics/crawlspaces) increases humidity, promotes mold, and creates a fire hazard due to lint buildup.
How to Fix It
- Ensure your dryer vents outside using a rigid or semi-rigid metal duct (not flexible plastic or foil).
- Clean the entire vent line at least once a year to prevent lint fire risk.
- Check for proper airflow: Go outside while the dryer runs—air should flow freely from the vent.
Beginner Mistake #6: Neglecting Basement and Crawlspace Ventilation
Common Issues
Basements and crawlspaces are prone to musty odors and moisture damage without adequate airflow. Excess humidity leads to mold, pests, and structural rot.
Effective Solutions
- Install a dehumidifier for high-moisture basements.
- Use ventilation fans to boost air exchange.
- Seal foundation cracks and ensure exterior drainage directs water away from the house.
- For crawlspaces, consider encapsulation with a vapor barrier and mechanical ventilation.
Beginner Mistake #7: Underestimating the Impact of Windows
Missed Opportunities
Many homeowners forget that windows are powerful ventilation tools—especially when strategically opened to create cross-breezes. Relying solely on mechanical ventilation can be inefficient and costly.
How to Maximize Window Ventilation
- Open windows on opposite sides of a room or house to promote cross-ventilation.
- Use locking window stops for security when venting at night or while away.
- Install insect screens to keep bugs out during warmer months.
- Consider window fans for additional airflow during stuffy weather.
Beginner Mistake #8: Installing the Wrong Size or Type of Ventilation System
Why Sizing Matters
Oversized fans waste energy and can cause drafts, while undersized fans won’t remove enough moisture or pollutants.
How to Choose the Right System
- Calculate the room’s square footage and use manufacturer guidelines for fan sizing (measured in CFM—cubic feet per minute).
- For bathrooms: Aim for at least 1 CFM per square foot.
- For kitchens: Select a range hood with a minimum of 100 CFM per linear foot of stovetop.
- Consult a professional for whole-house ventilation systems or if your home has unique needs (e.g., high ceilings, open floor plans).
Beginner Mistake #9: Forgetting About Air Sealing and Ventilation Balance
The Airtightness Trap
Energy-efficient upgrades like new windows, doors, and insulation often tighten a home’s envelope. While great for cutting drafts, over-sealing can trap pollutants inside unless ventilation is adjusted accordingly.
How to Maintain Healthy Airflow
- After major air-sealing projects, add or upgrade ventilation (mechanical or passive) as needed.
- Consider a Heat Recovery Ventilator (HRV) or Energy Recovery Ventilator (ERV) for continuous, balanced fresh air.
- Test indoor air quality periodically—look for excess humidity, odors, or condensation as warning signs.
Beginner Mistake #10: Overlooking Permit and Code Requirements
The Legal and Safety Risks
Many ventilation upgrades or installations require permits and must meet local building codes. Ignoring these can result in fines, failed inspections, and insurance issues if something goes wrong.
How to Stay Compliant
- Check with your local building department before starting any major ventilation work.
- Hire licensed professionals for complex or whole-house systems.
- Keep records of permits, inspections, and warranties for future reference and home resale value.
Cost Breakdown: What to Expect When Fixing Ventilation Mistakes
Common Costs by Project
- Cleaning and maintaining exhaust fans: $0 (DIY) to $150 (pro service)
- Installing a ducted range hood: $250–$1,200 (materials and labor)
- Upgrading attic ventilation: $300–$1,000+
- Dryer vent rerouting/cleaning: $100–$500
- Adding/repairing bathroom fans: $150–$600
- Whole-house ventilation system: $2,000–$7,000+
Smart Budgeting Tips
- Prioritize fixes with the biggest health or energy impact first (e.g., bathroom/kitchen fans, dryer vents).
- DIY what you can—cleaning and basic maintenance.
- Get multiple quotes for bigger jobs, especially whole-system upgrades.
- Check for local rebates or incentives for energy-efficient upgrades (e.g., HRVs/ERVs).
Maintenance Checklist: Keeping Your Home’s Ventilation on Track
- Monthly: Check and clean vent covers and bathroom/kitchen fan grilles.
- Quarterly: Replace or wash range hood and recirculating fan filters.
- Annually: Inspect attic, roof, and exterior vents for blockages or damage.
- Annually: Clean dryer vent from appliance to exterior wall.
- Annually: Test and inspect whole-house systems (HRV/ERV) and replace filters as directed.
- After major renovations: Re-evaluate and adjust ventilation as needed.
Safety Tips: Ventilation and Indoor Air Quality
- Never vent combustion appliances (furnaces, water heaters) indoors—always to the outside.
- Install carbon monoxide and smoke detectors in key areas.
- Be cautious with attic insulation—ensure soffit vents remain open and clear.
- Use low-VOC paints and materials to reduce indoor air pollution.
- If you notice persistent moisture, musty odors, or health symptoms, consult a professional for air quality testing.
Conclusion: Breathe Easier with Smart Ventilation Choices
Home ventilation is one of those things most of us don’t think about—until a problem arises. But as you’ve seen, overlooking the details can lead to much more than discomfort: there’s the risk of mold, structural damage, higher utility bills, and even compromised health. The good news? Most common mistakes are preventable and fixable with a little knowledge and proactive effort.
Start by conducting a quick audit of your home: Are vents blocked? Are exhaust fans running (and clean)? Is your attic stuffy or your basement musty? Small changes—like keeping vents clear or cleaning an exhaust fan—can have a big impact. For bigger upgrades, don’t hesitate to consult a pro or invest in high-quality, code-compliant systems. Remember, good ventilation isn’t just about moving air; it’s about protecting your investment and your family’s well-being for years to come.
By avoiding these beginner mistakes and following the practical fixes outlined here, you’ll enjoy a fresher, healthier, and more energy-efficient home. Take these lessons to heart, and breathe easier knowing your living space is truly built for comfort and safety—inside and out.
How often should homeowners check their mechanical ventilation systems and vents for issues like blockages or improper placement? Is there a recommended maintenance schedule to ensure everything is working efficiently?
Homeowners should inspect mechanical ventilation systems and vents at least every six months. Look for blockages, dust buildup, and ensure vents are properly placed and unobstructed. Filters should be checked and replaced or cleaned as recommended by the manufacturer, often every 3 to 6 months. Scheduling a professional service annually can also help maintain efficiency and catch potential issues early.
When you’re talking about mechanical ventilation, is it better to use individual spot fans in areas like bathrooms and kitchens, or to invest in a whole-house system from the start? I’m trying to strike the right balance between cost and effectiveness during my renovation.
Individual spot fans in bathrooms and kitchens are cost-effective and target moisture or odors right where they occur, making them a good choice for smaller homes or tighter budgets. However, a whole-house mechanical ventilation system provides more consistent air quality throughout every room, which can be especially helpful in larger or tightly sealed homes. If your renovation budget allows, a whole-house system offers superior long-term comfort and efficiency, but using spot fans in key areas is a solid compromise if you want to keep costs down.
The article talks about the impact of ventilation on heating and cooling efficiency. Are there specific types of ventilation systems that work better in colder climates compared to warmer ones, or is one approach generally recommended for all regions?
Ventilation needs can vary depending on the climate. In colder regions, heat recovery ventilators (HRVs) are often preferred because they bring in fresh air while retaining indoor heat, improving energy efficiency. In warmer, humid climates, energy recovery ventilators (ERVs) are usually better, as they help manage both temperature and humidity. Choosing the right system for your climate helps optimize heating and cooling efficiency.
The article talks a lot about preventing humidity and mold, but what are some immediate signs that our current ventilation is not up to par? Are there easy troubleshooting steps before calling in a pro?
Immediate signs of poor ventilation include persistent condensation on windows, musty odors, peeling paint, and visible mold spots, especially in bathrooms or kitchens. For troubleshooting, try opening windows regularly, using exhaust fans, and checking if vents are blocked or dirty. Make sure bathroom and kitchen fans are working properly by holding a tissue near the vent to see if it draws air. These steps can help identify issues before you consider professional help.
If someone is installing bathroom exhaust fans as part of a DIY project, are there common mistakes that lead to them not working efficiently—like incorrect placement or venting into attics by mistake?
Yes, two common mistakes are placing the fan too far from the shower or tub, which limits moisture removal, and venting the fan into the attic instead of outside. Venting into the attic can cause mold and damage. Also, using ducts that are too long, full of bends, or not properly insulated can reduce airflow. Make sure to install the fan close to moisture sources and use a straight, insulated duct that leads outdoors.
If you discover blocked vents during a renovation, what’s the best method for clearing them without damaging existing ductwork? Are there special tools or should this always be handled by a pro?
If the vents are only lightly blocked by dust or debris, you can often clear them using a vacuum with a hose attachment or a flexible brush designed for ducts. Be gentle to avoid damaging the ductwork. For more stubborn blockages or if you’re unsure about the cause, it’s safer to call a professional, as they have specialized tools like duct cleaning vacuums and inspection cameras to handle the job without harming your vents.
If I want to add a whole-house ventilation system, about how much time should I set aside for a typical DIY install, and are there certain parts of the process that usually trip people up for the first time?
For a typical DIY whole-house ventilation system, plan for a weekend or about 12 to 16 hours, depending on your skill level and home layout. Common challenges include running ductwork through tight attic or basement spaces, handling electrical connections safely, and properly sealing air leaks. Carefully review manufacturer instructions, and consider getting help for heavy or complex steps to avoid mistakes.
You mention that ventilation mistakes can lead to expensive repairs over time, like mold and rot. Is there a ballpark idea of how much these repairs could cost if the issues go unnoticed for a year or more?
If ventilation mistakes go unnoticed for a year or more, repairs for issues like mold and rot can become quite expensive. Mold remediation alone can range from $500 to $6,000 or more, depending on the extent of the damage. Repairing structural rot might add several thousand dollars, especially if walls, flooring, or roofing are affected. Early detection and proper ventilation maintenance can save significant costs in the long run.
You mention that both DIYers and professionals often make ventilation mistakes. Could you give some examples of common errors even experienced contractors might make, and how homeowners can double-check their work to avoid these pitfalls?
Even experienced contractors sometimes install vents that are too small, place exhaust fans in the wrong locations, or fail to ensure proper duct sealing. Homeowners can double-check by confirming all vents match manufacturer specifications, feel for air movement at exhaust points, and inspect ducts for visible leaks or loose connections. Reviewing installation photos or manuals can also help you verify that everything meets current building codes.
The article lists the prevention of mold and humidity as key benefits of good ventilation. If I already have a persistent musty smell in my basement, where should I start troubleshooting to address potential ventilation mistakes?
A persistent musty smell in your basement often points to excess humidity or poor air circulation. Start by checking for visible signs of mold or dampness on walls, floors, and stored items. Make sure your vents aren’t blocked and that your basement has a dedicated exhaust or dehumidifier system. Also, check for leaks or inadequate insulation that might let moisture in. Addressing these can improve ventilation and help eliminate musty odors.
You mention blocked vents as a common mistake. Is there an easy way for a busy homeowner to check if our vents are actually blocked or working properly, or do we need a professional to inspect them?
You can do a basic check yourself by making sure vents aren’t covered by furniture, rugs, or curtains, and feeling if air is flowing when your system is on. Remove any visible dust or debris, and listen for unusual noises. If certain rooms are much hotter or colder than others, that could suggest a problem. For a thorough inspection or if you suspect a blockage inside the ductwork, it’s a good idea to call a professional.
If someone wants to take a DIY approach as the article suggests, are there any easy first steps or safety precautions you recommend before making changes to existing ventilation systems?
Before starting any DIY work on your home’s ventilation, always turn off power to any related electrical systems to avoid accidents. Begin by inspecting and cleaning vents and filters, as this is a simple way to improve airflow without major changes. Wear gloves and a mask to protect yourself from dust and debris. If you notice mold or structural issues, it’s best to consult a professional before proceeding.
You highlighted that blocked vents can cause higher energy bills and poor air quality. For someone on a budget, what are some cost-effective steps to identify and fix blocked vents without hiring a professional right away?
To spot blocked vents on a budget, first check each vent in your home to make sure no furniture, curtains, or rugs are covering them. Remove any visible dust or debris using a vacuum with a hose attachment. You can also unscrew vent covers and wipe inside with a damp cloth. If airflow still seems weak, try feeling for strong airflow from each vent when your HVAC runs. These simple steps can help improve airflow and keep energy costs down without professional help.
If I already have spot ventilation in my kitchen and bathrooms, is it still necessary to invest in whole-house ventilation, or can spot ventilation alone prevent mold and humidity issues?
Spot ventilation in your kitchen and bathrooms is great for addressing moisture and odors at the source, but it may not be enough to control overall humidity and air quality throughout your home. Whole-house ventilation ensures consistent air exchange in all rooms, helping to prevent mold and excess humidity in areas that spot fans don’t reach. For the best results, consider combining both approaches.
After reading about spot ventilation, I’m wondering if there are common mistakes people make when installing bathroom or kitchen exhaust fans. Are there easy signs to watch for that my range hood or bath fan isn’t working effectively?
Some common mistakes with bathroom and kitchen exhaust fans include installing units that are too weak for the space, venting into attics instead of outside, and using ducts that are too long or have sharp bends. Easy signs your fan or range hood isn’t working well include lingering odors, foggy mirrors, moisture buildup, or visible dust on the fan grill. You should also check if you feel airflow outside where it vents during operation.
The article mentions that proper ventilation protects against mold and mildew. If a room already has high humidity and some signs of mold, should ventilation improvements be done before or after mold remediation? And how long should I expect this process to take?
It’s best to address mold remediation first to remove existing spores, as improving ventilation can sometimes disturb mold and spread it further. After professional cleaning, you should focus on ventilation upgrades to prevent future growth. Mold remediation typically takes anywhere from a day to a week, depending on the extent of the issue and room size. Ventilation upgrades can often be completed within a few days after that.
When renovating, does it make more sense to invest in a whole-house ventilation system or focus on improving natural and spot ventilation in specific rooms? Any tips for weighing the costs and benefits for busy families on a budget?
When renovating on a budget, weigh how much control you want over air quality and comfort. Whole-house systems offer consistent, automatic ventilation but have higher upfront costs. Upgrading natural and spot ventilation (like kitchen and bathroom fans) is cheaper and can target problem areas. Consider your home’s layout and local climate, then estimate installation and maintenance costs for both options. For busy families, low-maintenance solutions often make daily life easier, so factor that into your decision.
I’m planning a DIY renovation and worried about placing exhaust fans in the wrong spots. Do you have guidance on the most effective areas to install them, especially in older buildings where existing ductwork is limited?
For older homes with limited ductwork, the best spots for exhaust fans are typically bathrooms and kitchens, since these areas create the most moisture and odors. Place bathroom fans near showers or tubs, and kitchen fans above cooktops if possible. If direct duct runs are tricky, consider using exterior wall-mounted fans or short duct runs to an outside wall or roof. Always vent fans to the outdoors, never into attics or crawl spaces to avoid moisture problems.
When dealing with blocked vents, how can I safely check for obstructions myself before calling in a pro, and what tools are necessary for a basic inspection?
To check for blocked vents yourself, first turn off your HVAC system for safety. Remove the vent cover with a screwdriver, then use a flashlight to look inside for visible debris or dust buildup. A small mirror can help you see deeper. Use a vacuum with a hose attachment to gently remove any obstructions you can safely reach. Avoid pushing anything further in, and if you spot larger blockages or can’t access the area, it’s best to call a professional.
The article mentions that ventilation mistakes can lead to higher energy bills and expensive repairs. Is there a way to tell early on if your vent setup is costing you extra money before you start seeing problems like mold or rot?
Absolutely. If your energy bills are rising without a clear reason, or if rooms feel stuffy, excessively humid, or have lingering odors, these can be early warning signs that your ventilation setup isn’t working efficiently. You might also notice condensation on windows. Regularly checking and cleaning vents, and monitoring for these issues, can help you spot problems before they turn into costly repairs.
If I’m renovating an older house that only has natural ventilation, what’s the most cost-effective way to integrate mechanical or whole-house systems without major construction? Are there retrofit options that DIYers can handle?
You can improve ventilation in an older house without major construction by using window-mounted or wall-mounted exhaust fans and through-the-wall energy recovery ventilators (ERVs) designed for retrofits. These systems often only require basic tools and electrical skills, making them manageable for many DIYers. Ductless, in-room ventilators are also a good option and don’t need extensive renovations.
I’m planning to retrofit a mechanical ventilation system into my older house, but I keep reading that placement of exhaust fans is crucial. Are there specific spots I should avoid installing them to prevent pulling in more outside humidity or causing imbalances in airflow?
When retrofitting exhaust fans, avoid placing them too close to doors or windows, as this can pull in outside air and humidity, reducing efficiency. Steer clear of installing them near return air vents or in isolated corners where airflow is restricted, which can cause pressure imbalances. It’s best to install exhaust fans in high-moisture areas like bathrooms or kitchens, positioned to remove humid air at its source while maintaining balanced airflow throughout your home.
Our bakery is in an older building and sometimes we struggle with excess humidity, especially in the kitchen. Based on your article, would improving spot ventilation in just the kitchen be enough, or should we consider a whole-house ventilation system?
Improving spot ventilation in your bakery kitchen, such as upgrading range hoods or installing exhaust fans, can significantly help manage humidity where it’s produced. However, if excess moisture is affecting other parts of the building, a whole-building ventilation system might be worth considering. Assess if the humidity problem is isolated or widespread, and start with targeted improvements before investing in larger-scale solutions.
How long does it usually take to see improvements in air quality or energy bills after fixing common home ventilation mistakes, especially in older buildings used for businesses?
You can typically notice improvements in air quality within a few days to a week after fixing common ventilation mistakes, as fresh airflow begins to circulate better. For energy bills, changes often appear within one or two billing cycles, depending on your utility’s schedule. In older commercial buildings, improvements might be gradual, especially if other factors like insulation or window quality also affect results.