

Introduction: Why Upgrading Your Home Water Filtration Matters
Clean, safe water is a non-negotiable essential for every household. While municipal supplies are regulated for safety, issues like aging infrastructure, hard water, and local contaminants mean many homeowners seek extra peace of mind. Upgrading your home water filtration system is one of the most effective ways to ensure healthier drinking, better appliance longevity, and even improved taste. But it’s more than just picking up a filter at the hardware store—costs, compliance, equipment selection, installation, and ongoing maintenance all play crucial roles in a successful upgrade.
This comprehensive guide will walk you through every step of a home water filtration upgrade, from understanding the types of systems available, budgeting for your project, and complying with local regulations, to choosing the right equipment and maintaining your investment for years of clean, great-tasting water. Whether you’re looking to tackle hard water, remove lead, or simply want to ensure your family’s safety, the following expert tips, checklists, and best practices will set you up for success.
Understanding Home Water Filtration Options
Point-of-Use vs. Point-of-Entry Systems
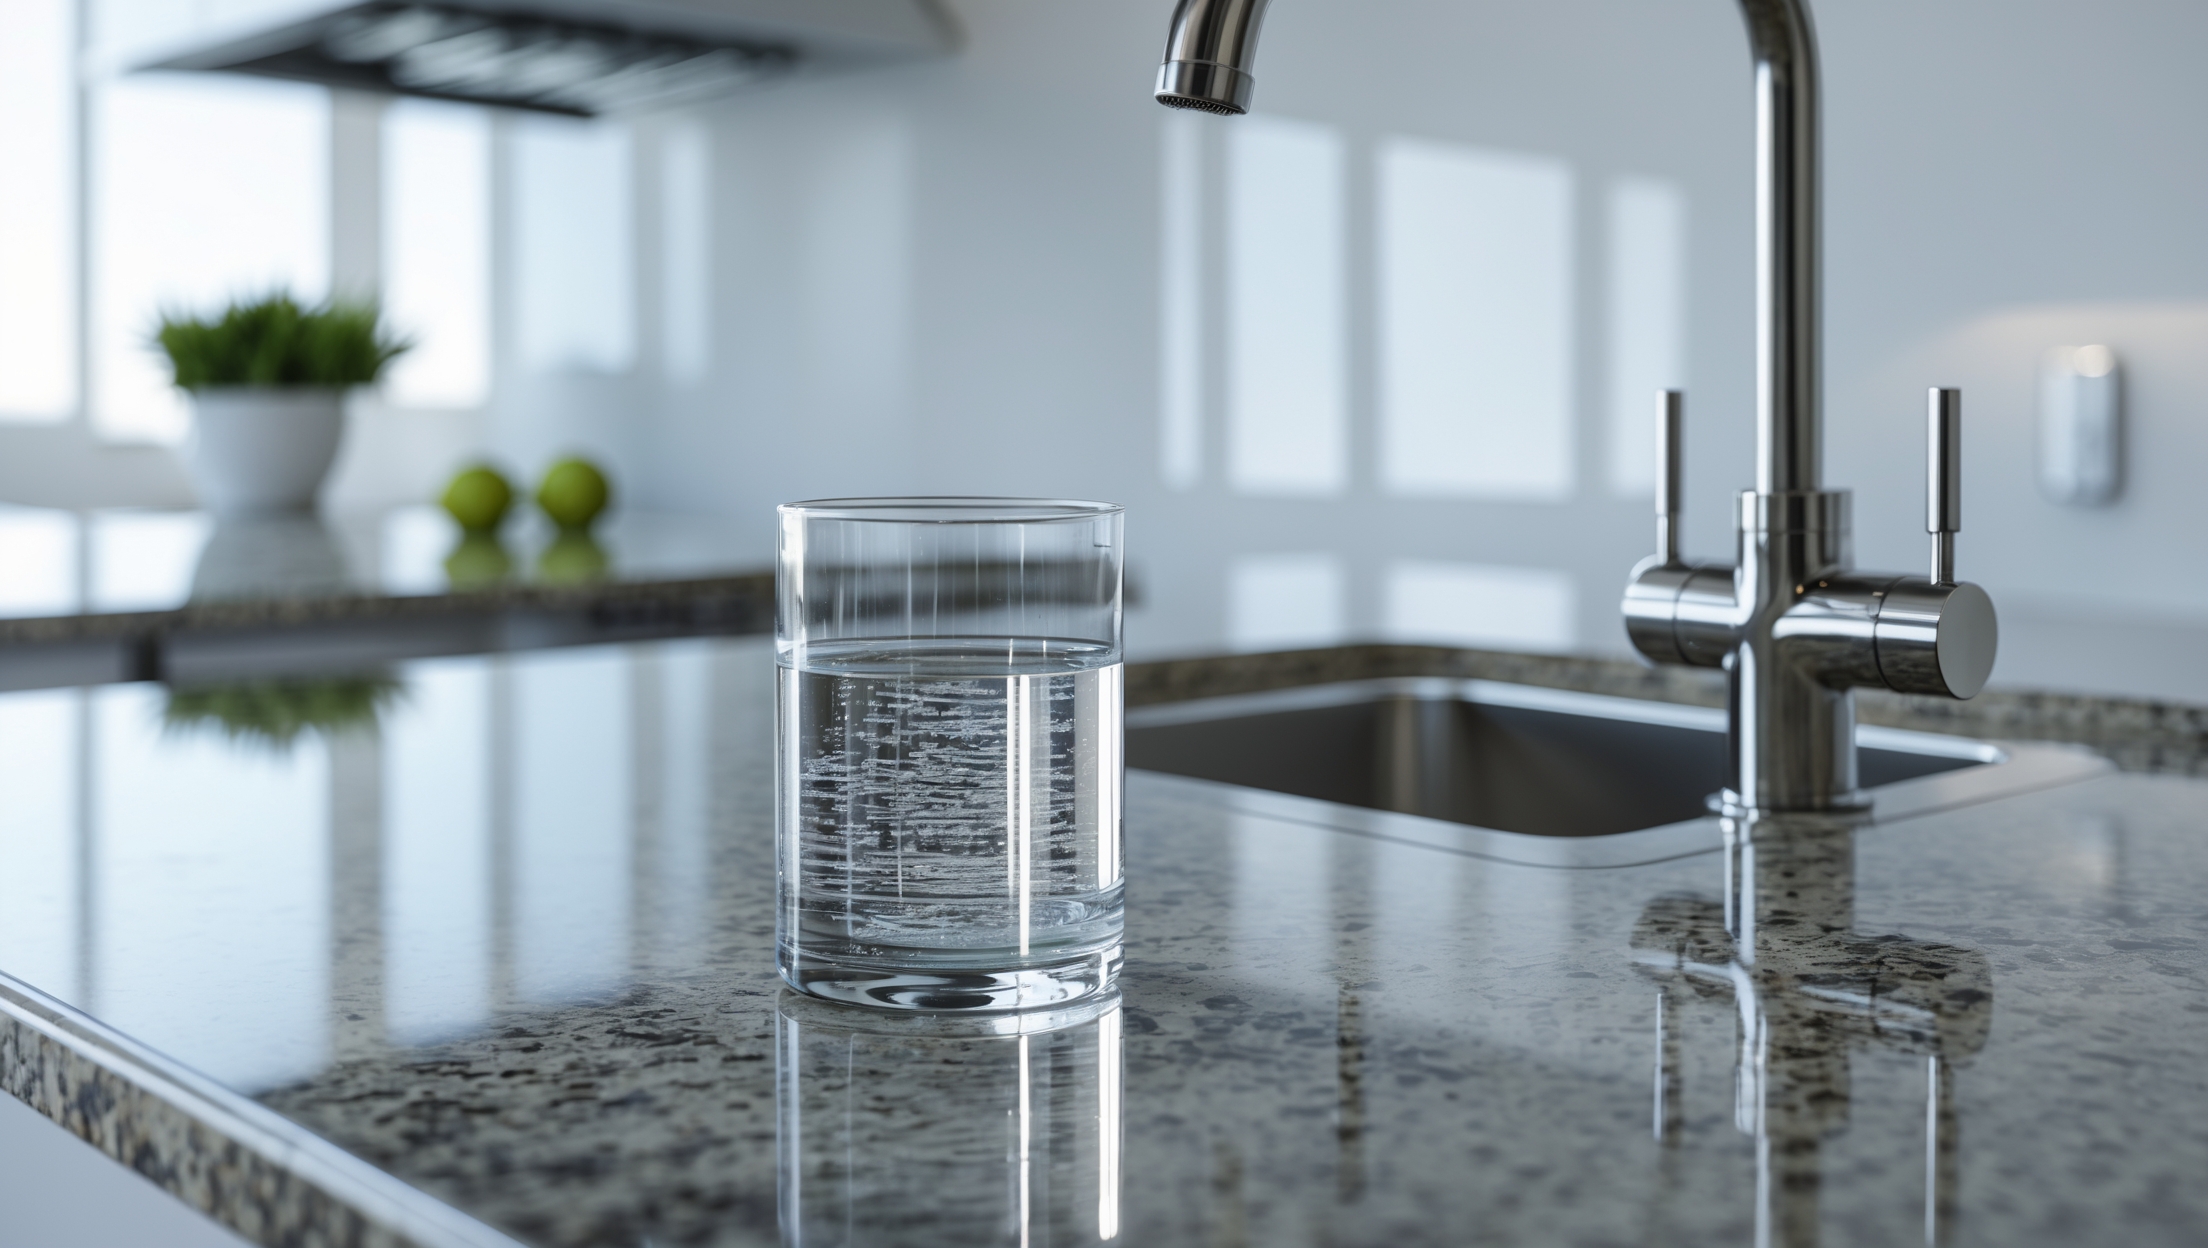
The first step is understanding the difference between point-of-use (POU) and point-of-entry (POE) systems:
- Point-of-Use (POU): Filters water at a specific location, such as under the kitchen sink or on a refrigerator line. Ideal for drinking and cooking water.
- Point-of-Entry (POE): Treats all water entering the home (whole-house systems). Essential for homes with widespread hard water, sediment, or known contaminants.
Types of Filtration Technologies
Several filtration technologies address different water issues. Common options include:
- Activated Carbon Filters: Effective for chlorine, sediment, and some VOCs. Common in POU systems.
- Reverse Osmosis (RO): Removes a wide range of contaminants including lead, arsenic, nitrates, and more. Requires multi-stage filtration and regular maintenance.
- UV Purification: Destroys bacteria and viruses, often used as a final step in POE systems.
- Water Softeners: Specifically targets hard water minerals (calcium, magnesium).
- Sediment Filters: Trap sand, silt, and rust particles; commonly paired with other filters.
Choosing the right technology depends on your local water quality and specific needs.
Assessing Your Home’s Water Quality
Testing Your Water
Before investing in a system, accurately identify what’s in your water. Options include:
- DIY Test Kits: Inexpensive, quick results for basics like hardness, chlorine, pH, and lead.
- Professional Lab Testing: Comprehensive analysis, essential if you suspect complex contamination (arsenic, pesticides, bacteria).
- Municipal Water Reports: Annual quality reports (Consumer Confidence Reports) are public and useful for baseline data.
Interpreting Results
Pay attention to contaminant levels, hardness, taste/odor complaints, and any health advisories. This data will guide your equipment choices and ensure compliance with local standards.
Cost Breakdown: Budgeting for a Water Filtration Upgrade
Initial Equipment Costs
- Under-Sink/Pitcher Filters: $30–$300
- Countertop RO Units: $150–$600
- Whole-House Systems: $400–$3,000+
- Water Softeners: $450–$2,500
- UV Purifiers: $300–$1,200
Costs vary based on brand, filter capacity, certifications, and complexity.
Installation Expenses
- DIY Install (POU): Minimal to $100 (tools, fittings, minor plumbing).
- Professional Install (POE): $350–$1,500 depending on system complexity and required plumbing modifications.
Ongoing Maintenance Costs
- Filter Replacements: $40–$200/year (frequency varies by system and usage)
- Annual Service (RO, UV): $100–$300 (cleaning, lamp replacement, system checks)
- Salt (for Softeners): $50–$120/year
Hidden and Optional Costs
- Water Testing: $20–$250 depending on method
- Plumbing Upgrades: May be required for older homes or complex installations
- Compliance Fees: Some municipalities require permits or inspections for POE systems
- Power Consumption: Minor for most systems, higher for RO with pumps or UV lights
Compliance and Permitting Essentials
Regulatory Considerations
Many homeowners overlook local compliance requirements when upgrading water systems. Here’s what to check:
- Building Permits: Required for major plumbing modifications, especially for POE systems.
- Backflow Prevention: Local codes may require backflow preventers to protect the municipal supply.
- Certified Equipment: Use systems certified by NSF/ANSI or WQA to ensure compliance and safety.
- HOA and Landlord Approval: Required in condos, rentals, or communities with shared water systems.
How to Ensure Compliance
- Contact your local building department before installation.
- Hire licensed plumbers for complex or whole-house jobs.
- Keep documentation of equipment certifications and test results.
- Schedule required inspections if modifying plumbing or installing POE systems.
Choosing the Right Filtration Equipment
Key Selection Criteria
- Contaminant Removal: Match system capabilities to your water test results.
- Flow Rate: Ensure the system can supply enough water for your household needs, especially for showers and laundry.
- Maintenance Requirements: Consider filter change frequency and ease of access.
- Certifications: Look for NSF/ANSI or WQA Gold Seal certification specific to your water issues.
- Warranty and Support: Longer warranties and responsive support can save money and hassle down the line.
Popular Brands and Models
- Under-Sink/POU: APEC, Aquasana, iSpring, Culligan
- Whole-House/POE: Pelican, Home Master, SpringWell, AO Smith
- Water Softeners: Fleck, Whirlpool, GE
- UV Purifiers: Viqua, Trojan
Read reviews and consult manufacturer performance data to ensure the chosen system meets your specific requirements.
Step-by-Step Installation Guide
Preparation
- Assemble your tools: adjustable wrench, tubing cutter, Teflon tape, bucket, and flashlight.
- Shut off main water supply; drain lines if necessary.
- Lay down towels or a drip pan to protect surfaces.
Installing an Under-Sink (POU) Filter
- Mark and drill holes for mounting the filter housing (if required).
- Disconnect the cold water line and install the provided adapter or T-fitting.
- Connect the filter input and output lines securely, using Teflon tape on threaded joints.
- Mount the faucet (if included) on the sink or countertop.
- Turn on the water supply and flush the system according to manufacturer instructions.
- Check for leaks and tighten connections as needed.
Installing a Whole-House (POE) System
- Choose an accessible location near the main water line, with a nearby power outlet if needed.
- Cut the main line and install shutoff and bypass valves for maintenance convenience.
- Mount the system according to manufacturer instructions, ensuring level installation.
- Connect inlet and outlet plumbing with appropriate fittings; use Teflon tape for all threaded joints.
- Install additional filters (sediment, carbon, UV) in the recommended order.
- Turn on the main water supply and check for leaks.
- Flush the system and check flow rate at multiple fixtures.
When to Hire a Pro
If your installation involves major plumbing work, electrical connections (for UV or powered systems), or compliance requirements, a licensed plumber ensures safety and code compliance.
Ongoing Maintenance Best Practices
Filter Replacement Schedules
- Carbon Filters: Every 3–6 months
- RO Membranes: Every 2–3 years
- Sediment Filters: Every 6–12 months
- UV Lamps: Annually
- Water Softener Resin: 10–15 years
Always follow manufacturer guidelines and mark replacement dates on a calendar or set digital reminders.
Cleaning and Sanitizing the System
- Sanitize filter housings during cartridge changes by rinsing with a diluted bleach solution (then flush thoroughly).
- Check for mold, algae, and mineral buildup in and around the system.
- Clean faucet aerators and showerheads to prevent buildup of filtered contaminants.
Annual System Checkups
- Inspect for leaks, worn hoses, and cracked fittings.
- Test water quality at least once a year, or after major plumbing work or filter changes.
- Schedule professional servicing for RO or UV systems.
Troubleshooting Common Issues
- Low Water Pressure: Indicates clogged filters or incorrect installation; replace cartridges or check for kinks.
- Odd Tastes or Odors: May signal expired filters or bacterial growth—replace filters and sanitize system.
- Leaks: Tighten fittings, check O-rings, and reseal threaded joints as needed.
Safety Checklist for Water Filtration Upgrades
- Shut off water and power before installation or maintenance.
- Wear gloves and eye protection when working with tools and chemicals.
- Use only certified, food-grade replacement parts.
- Label shutoff and bypass valves for easy emergency access.
- Keep installation and maintenance manuals accessible at all times.
- Test water after system changes to ensure performance and safety.
Maximizing the Value of Your Water Filtration Investment
Extending System Lifespan
- Keep up with regular filter changes and system cleaning.
- Install surge protectors for powered components (RO pumps, UV lamps).
- Monitor for early signs of wear, including slow flow or visible leaks.
Improving Home Value and Health
- Document your upgrade for future buyers—certified filtration systems add value and appeal.
- Share water test results and maintenance records during home sales or insurance reviews.
- Encourage family members or tenants to follow maintenance schedules for consistent water quality.
Conclusion: Enjoying Safe, Clean Water for Years to Come
Upgrading your home water filtration system is a smart investment in your health, comfort, and property value. By understanding your local water quality, carefully selecting the right equipment, budgeting realistically, and ensuring compliance with local codes, you set the stage for years of safe, great-tasting water throughout your home. The installation process—whether DIY or professional—can be straightforward with the right tools, planning, and attention to detail. Regular maintenance is key to maximizing both the performance and lifespan of your system, so make filter changes, cleaning, and periodic water testing a household routine.
Beyond the immediate health and taste benefits, a properly installed and maintained filtration system protects appliances, reduces plumbing wear, and can even bolster your home’s resale appeal. Keep thorough records, stay ahead of filter changes, and don’t be afraid to call in a professional for more complex installations or troubleshooting. With these steps, you’ll enjoy the peace of mind that comes from knowing your water is as clean, safe, and healthy as possible—today and for years to come.
I’m a little confused about the difference between activated carbon filters and reverse osmosis systems. If my main concern is getting rid of chlorine and some occasional weird tastes in my tap water, would activated carbon be enough, or should I consider reverse osmosis?
Activated carbon filters are very effective at removing chlorine and improving taste and odor in tap water, which sounds like your main concerns. Reverse osmosis systems go further by removing a wider range of contaminants, but they’re often more than you need just for chlorine and taste issues. For your situation, an activated carbon filter should do the job well and is easier to maintain.
You mention that reverse osmosis systems remove a wide range of contaminants, but do they also impact water taste or mineral content in ways homeowners should be aware of?
Reverse osmosis systems do impact both the taste and mineral content of your water. They remove many minerals along with contaminants, which can make the water taste flatter or more neutral compared to mineral-rich tap water. Some homeowners choose to add a remineralization filter after the reverse osmosis system to restore beneficial minerals and improve taste.
You mentioned budgeting for a home filtration upgrade. Are there any typical hidden expenses homeowners run into, like specialized plumbing or electrical work, that might not be obvious at first?
Yes, there can be some hidden expenses with home water filtration upgrades. Beyond the main unit cost, homeowners may need to budget for specialized plumbing modifications, especially if the system requires rerouting pipes or adding shut-off valves. Some advanced systems also need electrical outlets or dedicated circuits, which could involve hiring an electrician. Additional costs might include permits, professional installation fees, and ongoing filter replacements.
You talk about ongoing maintenance, but how do I know how often my chosen filter type actually needs to be replaced? Are there any signs to look out for, or should I just follow the manufacturer’s basic schedule?
You can start by following the manufacturer’s recommended schedule for replacing your filter, as it’s based on average use and filter capacity. However, if you notice a drop in water pressure, a change in taste or odor, or see visible buildup inside the filter, these are clear signs it might need replacing sooner. Keep an eye on these signs alongside the suggested timeline for best results.
For compliance with local regulations, what documentation or approvals are usually needed before installing a whole-house filtration system? Does this differ for different states or municipalities?
Before installing a whole-house filtration system, you typically need permits from your local building or health department. Documentation may include system specifications, installation plans, and proof that the unit meets local plumbing codes. Requirements can differ widely between states and even municipalities, so it’s important to check with your local authorities to ensure you have the correct approvals before starting installation.
After installing a new water filtration upgrade, what signs should I watch for to know if the system isn’t performing well or needs maintenance? Are there any particular maintenance pitfalls homeowners should avoid?
After installing a new water filtration system, keep an eye out for signs like a noticeable drop in water pressure, unpleasant tastes or odors, cloudy water, or indicator lights showing filter replacement is needed. Regularly check the manufacturer’s maintenance schedule and avoid delaying filter changes, as this can reduce performance. Also, be careful not to use incompatible replacement parts, and always flush the system as recommended after filter changes to prevent trapped air or debris.
If my main concern is lead contamination, would a reverse osmosis system installed at a single faucet provide sufficient protection for drinking and cooking water, or should I consider a whole-house approach?
If lead is your primary concern, a reverse osmosis system installed at a single faucet is usually sufficient for safe drinking and cooking water. These systems are very effective at removing lead. A whole-house system isn’t typically necessary unless you need lead removal for bathing or washing as well, but most exposure risk comes from water you ingest.
When considering point-of-use versus point-of-entry systems, how do homeowners decide which option is best suited for their needs if they’re dealing with both hard water and potential lead contamination?
Homeowners facing both hard water and potential lead contamination often benefit from a combination of systems. A point-of-entry system tackles hard water throughout the home by softening all incoming water. For lead removal, a certified point-of-use filter at drinking or cooking taps ensures safe water where it’s needed most. Assess your main water concerns, budget, and installation space to decide if both are necessary or if one system can address your priorities.