

Introduction: Why Weatherproofing Myths Persist—and Why They Matter
Home weatherproofing is often misunderstood, with myths and misconceptions circulating among homeowners and DIY enthusiasts alike. Whether you’re concerned about keeping your home comfortable during extreme temperatures or want to prevent costly water damage, accurate information is crucial. Unfortunately, outdated advice or half-truths can lead to wasted money, time, and even increased risk of property damage. In this comprehensive guide, we’ll tackle the most persistent myths about weatherproofing, clarify what actually works, break down associated costs, and provide actionable tips for every homeowner. By debunking these myths and highlighting proven best practices, you’ll be empowered to make informed decisions that enhance your home’s resilience and efficiency for years to come.
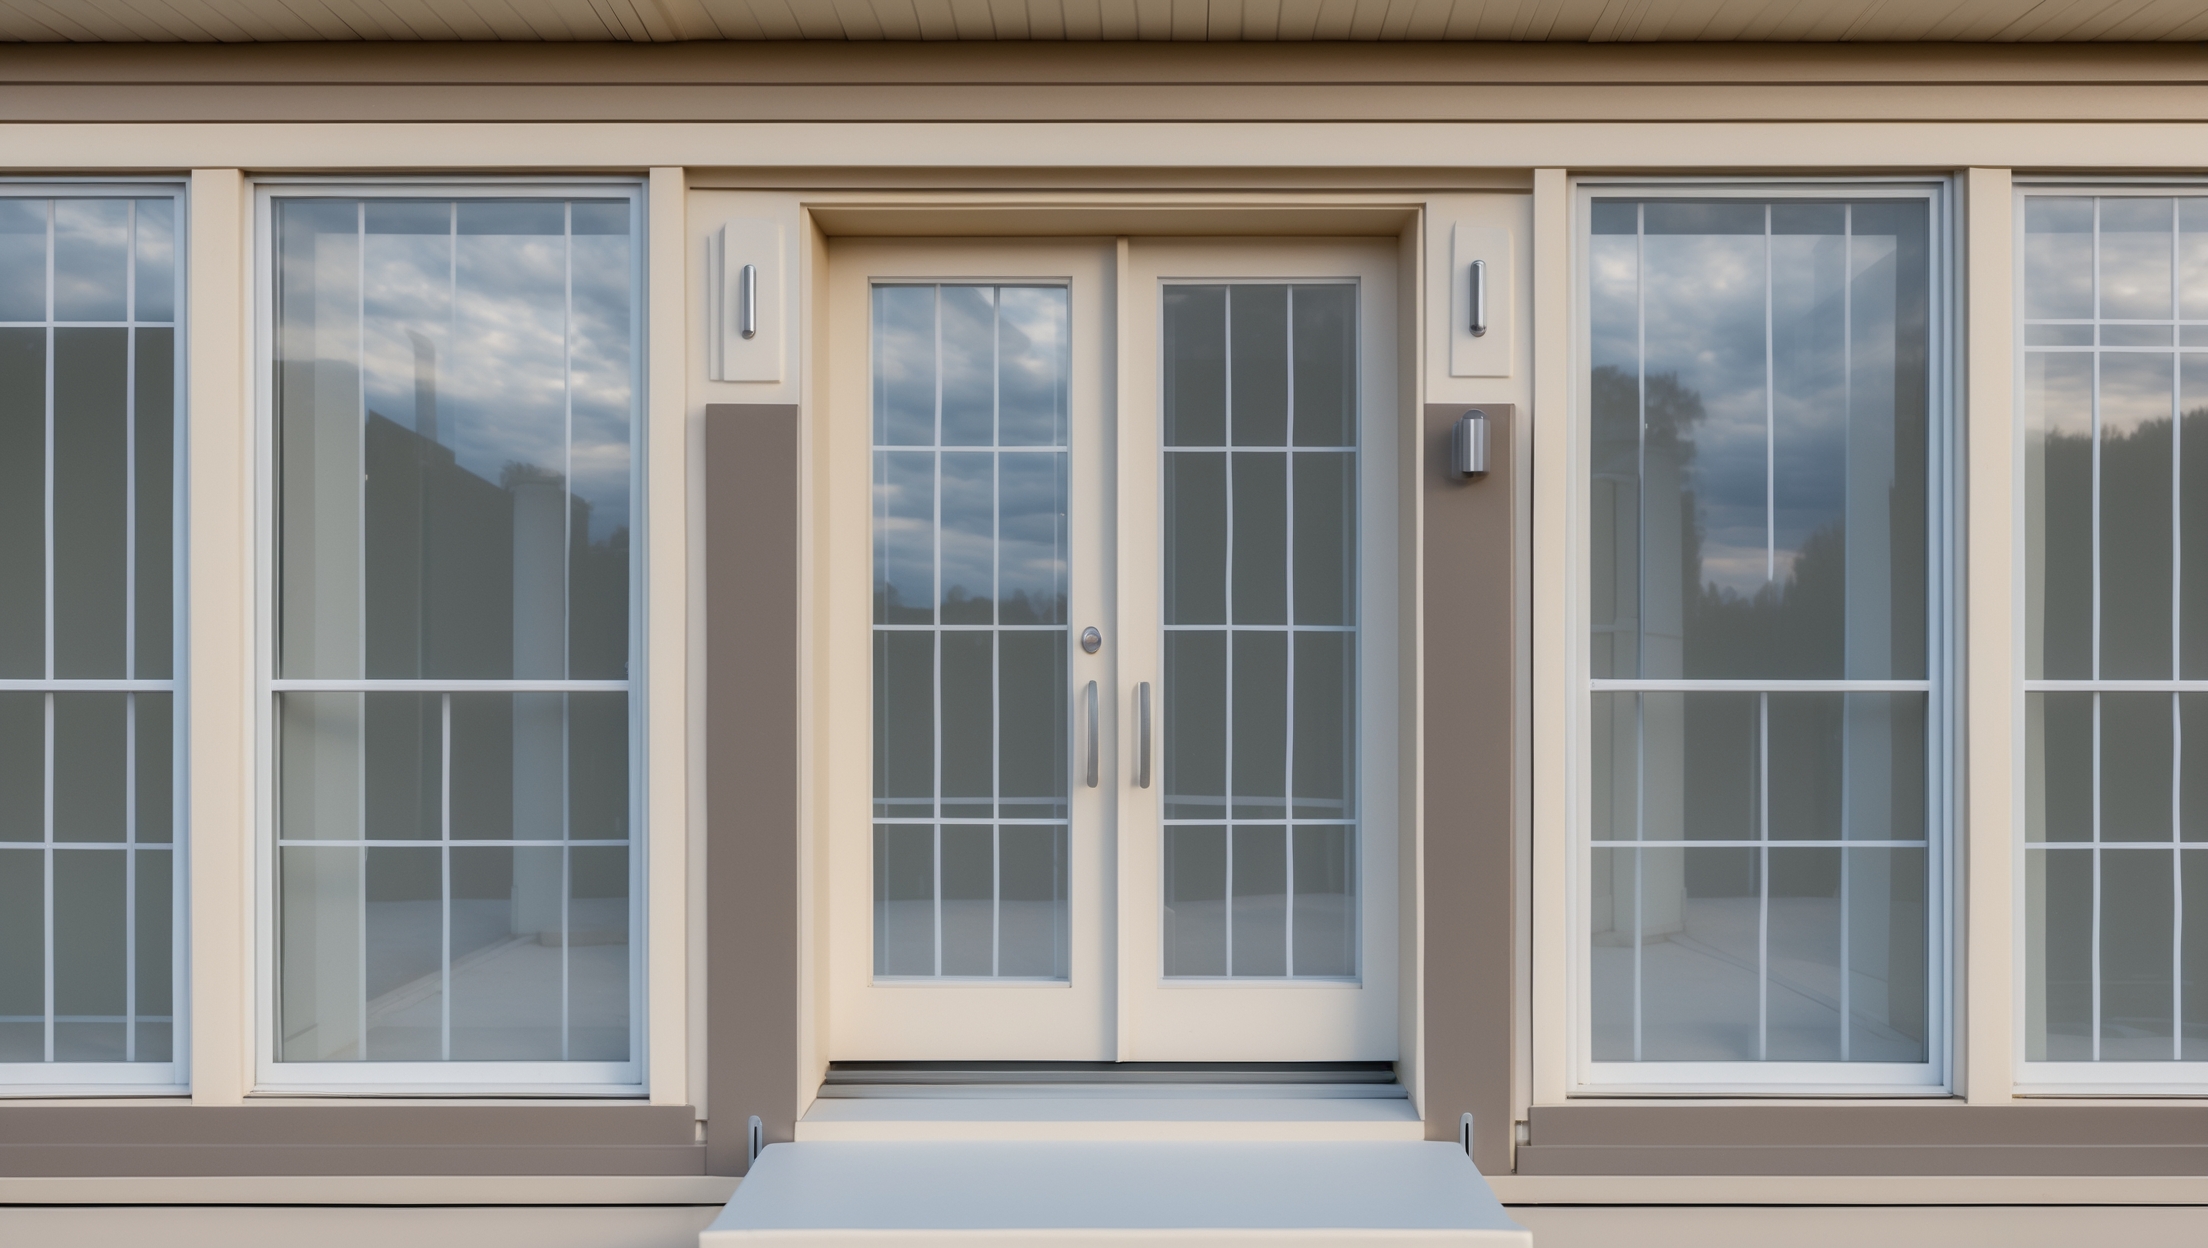
Myth #1: “Good Windows Alone Are All You Need for Weatherproofing”
The Reality
While modern, energy-efficient windows play a significant role in home insulation, they’re just one component of a comprehensive weatherproofing strategy. Heat and cold can enter or escape through many other areas, including doors, attics, walls, floors, and even electrical outlets. Relying solely on window upgrades can leave other vulnerabilities unaddressed, leading to uneven temperatures and higher energy bills.
Practical Tips
- Inspect and seal gaps around doors, especially at thresholds and frames.
- Add weatherstripping to all exterior doors and attic hatches.
- Check for and seal cracks in siding, foundations, and around pipes or vents.
Myth #2: “Weatherproofing Is Only for Cold Climates”
The Reality
Many homeowners believe weatherproofing is only necessary in regions with harsh winters. In truth, effective weatherproofing protects your home year-round, regardless of climate. In hot, humid environments, it helps keep cool air inside and blocks moisture that can lead to mold or rot. In areas with heavy rainfall, it prevents leaks and water intrusion. Weatherproofing is about controlling your home’s internal environment and shielding it from all kinds of weather extremes.
Practical Tips
- Use vapor barriers in crawl spaces and basements to manage humidity, regardless of temperature.
- Seal roof penetrations and flashing to prevent leaks in rainy climates.
- Install storm doors or screens for added protection in hurricane or tornado-prone regions.
Myth #3: “DIY Weatherproofing Is Always Cheaper Than Hiring a Pro”
The Reality
While many weatherproofing tasks are suitable for DIYers and can save money, some projects require specialized knowledge or equipment. Mistakes can lead to incomplete sealing, hidden leaks, or even damage to your home’s structure. In some cases—such as complex roof repairs or installing spray foam insulation—hiring a professional is the safest and most cost-effective approach in the long run.
Cost Analysis
- DIY caulking and weatherstripping: $20–$100 for materials.
- Professional attic insulation: $1,500–$3,500, depending on home size and insulation type.
- Professional air sealing assessment (blower door test): $300–$500, can reveal hidden leaks.
Myth #4: “Caulk and Foam Are One-Size-Fits-All Solutions”
The Reality
It’s a common misconception that all gaps and cracks can be sealed with a single product. In reality, different materials require specific sealants for long-lasting results. Using the wrong product can lead to premature failure, allowing air and water to infiltrate your home.
Common Mistakes
- Using interior-grade caulk for exterior applications, which may crack or wash away.
- Filling large gaps with caulk instead of expanding foam or backer rods.
- Applying foam around hot surfaces (chimneys, recessed lights), which can be a fire hazard.
Best Practices
- Choose silicone or polyurethane caulk for exterior use; latex caulk for indoor trim.
- Use closed-cell spray foam for gaps larger than 1/4 inch but away from heat sources.
- Install backer rods before caulking wide cracks to ensure proper sealant depth and flexibility.
Myth #5: “Weatherproofing Is a One-Time Job”
The Reality
Weatherproofing is not a set-it-and-forget-it project. Materials age, houses settle, and new vulnerabilities can appear over time. Regular inspection and maintenance are essential to keep your home protected as the seasons change and your home ages.
Maintenance Checklist
- Inspect caulk and weatherstripping annually; replace if cracked or missing.
- Check attic and basement for signs of moisture or draft changes each season.
- Monitor window and door frames for loosening or warping, especially after extreme weather events.
Myth #6: “Weatherproofing Is Too Expensive to Be Worth It”
The Reality
Many homeowners overestimate the cost of effective weatherproofing. In reality, most projects pay for themselves through energy savings, reduced repair costs, and increased home value. Even small, inexpensive upgrades—like adding door sweeps or sealing electrical outlets—can yield noticeable improvements in comfort and utility bills.
Cost Breakdown: Typical Projects
- Weatherstripping doors/windows: $5–$15 per unit.
- Caulk for windows, baseboards, exterior cracks: $2–$10 per tube.
- Spray foam for attic/basement gaps: $10–$20 per can.
- Professional whole-house air sealing: $1,200–$2,500 (average home).
Long-Term Benefits
- Lower heating and cooling bills (10–20% average savings per year).
- Improved indoor comfort and air quality.
- Reduced risk of water damage, mold, and pest intrusion.
- Boosted property value and market appeal.
Myth #7: “Insulation Alone Solves All Weatherproofing Problems”
The Reality
Insulation plays a key role in thermal control but does little to stop air leaks or moisture infiltration on its own. Without proper air sealing, even high-quality insulation can be undermined by drafts or water entry. A holistic approach—combining insulation, air sealing, and moisture barriers—is necessary for true weather resilience.
Combined Approach
- Seal air leaks around windows, doors, outlets, and attic access points before adding insulation.
- Install vapor barriers in basements and crawl spaces to control ground moisture.
- Choose insulation type based on local climate and home design (e.g., spray foam for tight air seal, fiberglass batts for easy DIY upgrades).
Myth #8: “Weatherproofing Products Are All the Same”
The Reality
There’s a wide range of weatherproofing products on the market, each designed for specific conditions and materials. Cheap or generic products may not deliver the durability or performance you need. Investing in high-quality, purpose-built materials pays off with longer-lasting results and fewer callbacks or re-dos.
How to Choose the Right Products
- Read product labels for intended use (exterior, high-moisture, fire-rated, etc.).
- Check for certifications (ENERGY STAR, UL listing, ASTM ratings).
- Research performance reviews for longevity and weather resistance.
Myth #9: “Older Homes Can’t Be Properly Weatherproofed”
The Reality
While older homes often present unique challenges—such as settling, outdated construction methods, or historical features—modern weatherproofing techniques can dramatically improve their performance. Careful assessment and targeted upgrades can enhance comfort and efficiency without compromising character or value.
Case Study: Weatherproofing a 1920s Craftsman
- Initial audit found major air leaks around original windows and attic hatch.
- Added interior storm windows to preserve exterior appearance.
- Installed weatherstripping and door sweeps on all exterior doors.
- Applied closed-cell spray foam in attic eaves and rim joists.
- Result: 25% reduction in annual energy bills and noticeably fewer drafts.
Step-by-Step: Building an Effective Weatherproofing Plan
1. Conduct a Thorough Home Inspection
- Check windows and doors for visible gaps, cracks, or faulty seals.
- Inspect attic, basement, and crawl space for moisture, drafts, or insulation issues.
- Look for water stains, mold, or insect activity along walls and ceilings.
2. Prioritize Repairs by Severity and Cost
- Address water leaks and obvious drafts first—they pose the biggest risk to structure and comfort.
- Consider potential return on investment; start with low-cost, high-impact fixes.
3. Choose the Right Materials and Methods
- Match sealants, foams, and insulation to your home’s climate and construction type.
- Consult with pros for large or complex projects.
4. Implement Seasonal Maintenance
- Re-inspect and touch up seals, caulk, and weatherstripping before peak heating/cooling seasons.
- Clear gutters and downspouts to prevent water intrusion.
Bonus: Frequently Overlooked Weatherproofing Tips
- Seal electrical outlets and switch plates on exterior walls with insulating gaskets.
- Install door sweeps on both front and garage entry doors.
- Use window film kits for an extra layer of insulation during extreme weather.
- Insulate attic access doors with foam board and weatherstripping.
- Check and re-caulk around exterior fixtures (lighting, hose bibs, vents) annually.
Conclusion: Weatherproofing Wisdom for Every Homeowner
Understanding the facts behind home weatherproofing is the key to protecting your investment, saving money, and creating a comfortable living environment. By moving past common myths and focusing on proven techniques, you can make improvements that last and adapt to your home’s unique needs. Whether you’re tackling minor DIY projects or planning a comprehensive upgrade, the value of weatherproofing goes far beyond aesthetics—it safeguards your home’s structure, enhances its efficiency, and delivers peace of mind through every season.
Remember: weatherproofing is not a one-time task, but an ongoing commitment to home health. Regular inspections, timely repairs, and informed product choices are the foundations of a resilient, energy-efficient home. Don’t let misconceptions hold you back. With the right approach and knowledge, you can enjoy the long-term benefits of a well-protected home, no matter its age or location. Start with small steps, prioritize the most critical fixes, and watch your comfort and savings grow year after year.
You mention that many homeowners overlook issues like sealing cracks around pipes or vents. Is there a recommended checklist or sequence for inspecting all the key weatherproofing areas besides just windows and doors?
Absolutely, having a checklist can make weatherproofing much easier. Start by inspecting exterior walls for cracks, then check around pipes, vents, and electrical outlets leading outside. Inspect the attic and basement for gaps or drafts, and look at areas where different building materials meet, such as roof joints and foundation edges. Don’t forget to check weatherstripping on doors and ensure vents are properly sealed. Working logically from top (attic/roof) to bottom (basement/foundation) helps ensure nothing gets missed.