

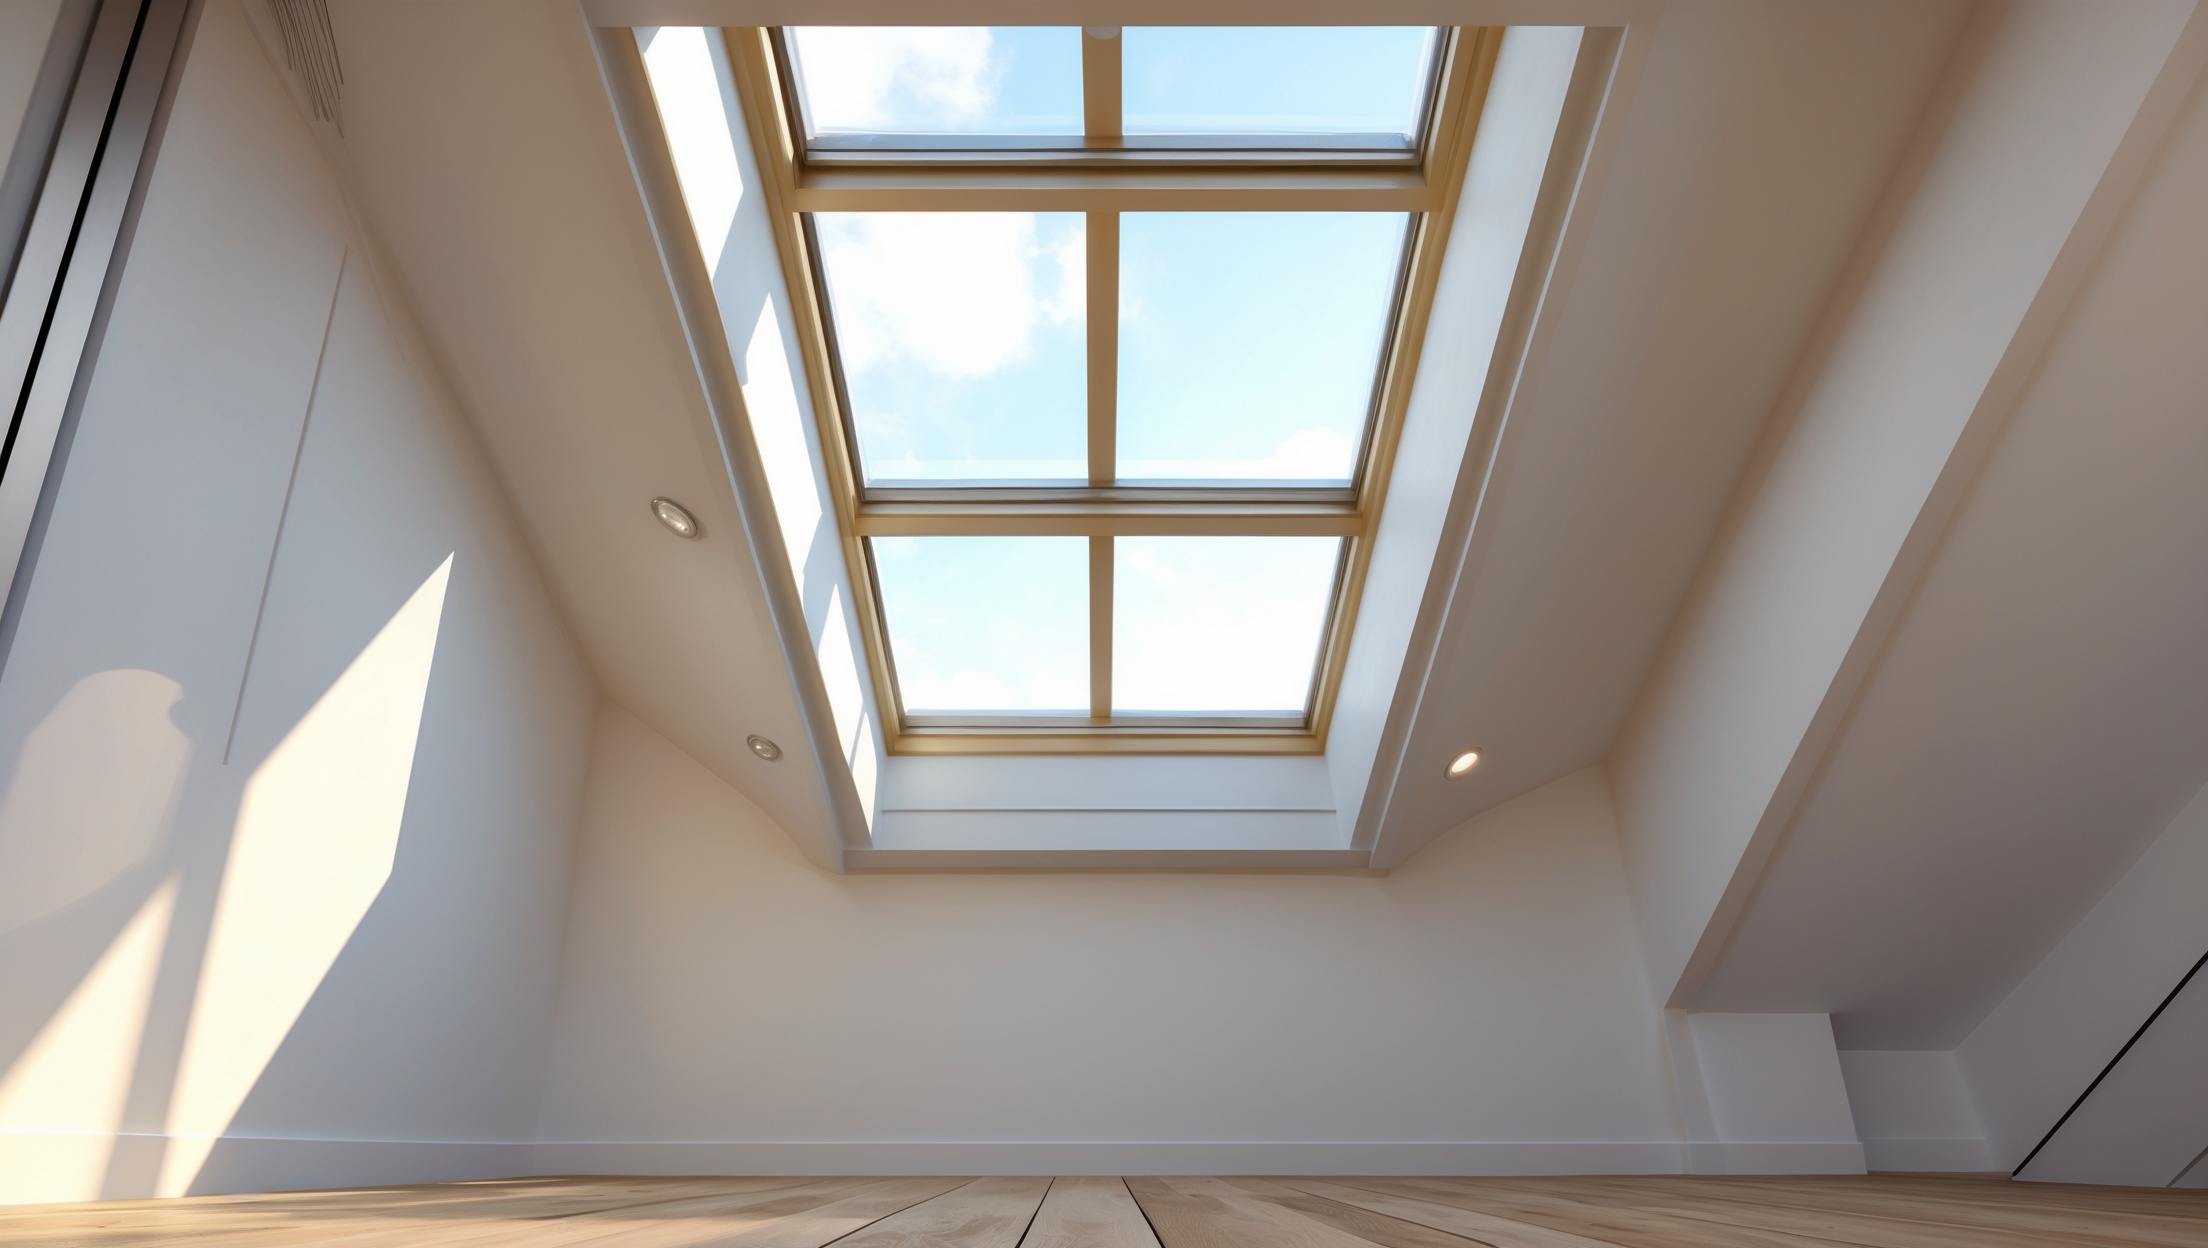
Introduction: Bringing Natural Light Into Your Home
Few home improvements can rival the transformation brought by a well-installed skylight. Flooding your interiors with natural sunlight, skylights can make even modest spaces feel airy and open, while potentially reducing your need for artificial lighting during the day. But with this brightness comes a set of unique challenges. Missteps in planning, budgeting, permitting, or installation can lead to water leaks, structural damage, or costly repairs down the line. This comprehensive guide walks you through the essentials of skylight installation—from honest cost breakdowns and navigating local permits, to proven, step-by-step strategies for leak prevention. Whether you’re a hands-on homeowner or planning to work with a professional, you’ll find actionable advice and clear checklists to help you avoid common pitfalls and ensure a bright, dry, and durable upgrade for your home.
Understanding Skylight Types and Placement
Popular Skylight Styles
- Fixed Skylights: Non-opening, ideal for adding light to attics, stairwells, or hallways where ventilation isn’t a priority.
- Vented (Operable) Skylights: Open manually or electrically, providing both light and airflow. Suited for kitchens, bathrooms, or any space needing ventilation.
- Tubular Skylights: Compact, reflective tubes that channel sunlight into small or interior rooms. Great for closets or windowless bathrooms.
- Custom Skylights: Unique shapes or sizes to fit specialized architectural needs, often at a premium cost.
Optimal Placement Considerations
- Roof Orientation: South-facing skylights maximize sunlight; north-facing offer consistent, softer light. East and west exposures provide morning or afternoon light, respectively.
- Roof Pitch: The angle of your roof influences water runoff and installation complexity. Steeper pitches often shed water better, reducing leak risks.
- Room Function: Consider how much light or ventilation the space needs. Bedrooms may benefit from blinds or tinted glass for comfort.
- Obstructions: Check for rafters, wiring, or HVAC ducts in the ceiling and attic space before finalizing skylight location.
Budgeting: Full Cost Breakdown
Major Cost Factors
- Skylight Unit: Basic fixed models start around $150–$500. Operable units range from $400–$1,500. Custom or large skylights can cost $2,000+.
- Flashing Kit: Essential for waterproofing; expect $50–$200 depending on roof type.
- Labor: Professional installation generally costs $500–$2,000 per skylight, influenced by roof pitch, height, and complexity.
- Roof Modifications: Reinforcing rafters, rerouting vents, or repairing unexpected damage can add $100–$1,000+.
- Interior Finishing: Painting, drywall, or trim work may cost $100–$500.
- Permits and Inspections: Fees vary by region, typically $50–$300.
Sample Project Budgets
- DIY Fixed Skylight (Basic): $350–$800 (unit, flashing, tools, finishing materials)
- Professional Vented Skylight: $1,200–$3,000 (unit, flashing, labor, permit, finishing)
- High-End Custom Installation: $3,000–$6,000+
Unexpected costs can arise from hidden roof damage, structural reinforcements, or upgrades like remote controls and rain sensors. Always set aside a 10–20% contingency in your budget.
Permits and Compliance: What Homeowners Must Know
When Is a Permit Required?
Most municipalities require permits for skylight installation because it involves structural changes to your roof. Even small, tubular skylights often need inspection due to fire safety and waterproofing concerns. Skipping permits can cause insurance problems or issues when selling your home.
How to Navigate Permitting
- Contact Your Local Building Department: Inquire about specific requirements for residential skylight installation.
- Submit Detailed Plans: Include skylight model, size, and roof location. Some areas require structural drawings.
- Schedule Inspections: Plan for mid-project and final inspections to verify compliance with building codes.
- HOA and Historic Districts: If applicable, secure additional approvals for exterior modifications.
Permits help ensure proper installation, fire safety, and long-term structural integrity. Budget both time and money for this step—some approvals can take several weeks.
Essential Tools and Equipment Checklist
- Measuring tape and chalk line
- Reciprocating saw or circular saw
- Hammer and pry bar
- Drill with screwdriver bits
- Utility knife
- Roofing nails or screws
- Roofing cement and high-quality sealant
- Flashing kit (matched to skylight and roof type)
- Ladder and roof harness (for safety)
- Protective goggles and gloves
- Drop cloths and plastic sheeting (for interior protection)
- Caulking gun
Many hardware stores offer rental options for saws and harnesses if you don’t own them. Never compromise on safety equipment when working at heights.
Step-by-Step Skylight Installation With Leak Prevention
1. Planning and Layout
Mark the skylight location both inside and outside. Use a stud finder to identify rafters. Ensure the opening fits between rafters, or be prepared to add headers for structural support.
2. Cutting the Roof Opening
- Drill pilot holes at each corner of the planned opening from inside the attic.
- From the roof, connect the pilot holes with a chalk line.
- Use a reciprocating or circular saw to cut the opening, being careful not to damage surrounding shingles or underlayment.
- Remove any insulation or debris from the cut area.
3. Framing and Support
- If the opening cuts through rafters, install double headers at both ends to transfer the roof load.
- Use hurricane ties or metal brackets for extra security in high-wind regions.
- Ensure framing is perfectly square to avoid leaks or installation issues.
4. Preparing the Roof and Installing the Skylight
- Remove shingles at least 6–8 inches around the opening.
- Install self-adhesive waterproof membrane (ice and water shield) around the perimeter, lapping onto the roof deck and up the sides of the opening.
- Fit the skylight into place, ensuring it sits flush and level.
5. Flashing and Waterproofing (Critical Leak Prevention)
- Follow the skylight manufacturer’s flashing instructions exactly. Improper flashing is the number one cause of skylight leaks.
- Install sill flashing at the bottom edge first, tucking it under the surrounding shingles.
- Add step flashing up the sides, weaving each piece under the shingle above.
- Install head flashing at the top, overlapping the step flashing and underlayment for optimal water runoff.
- Seal all fastener heads with roofing cement or high-grade polyurethane sealant.
- Replace shingles around the skylight, trimming as needed for a tight fit.
6. Interior Finishing
- Insulate the skylight shaft with spray foam or batt insulation to prevent condensation and heat loss.
- Install drywall or trim as needed, then paint to match your interior.
7. Final Inspection and Leak Test
- After installation, check for gaps, loose shingles, or exposed fasteners.
- Hose down the skylight and roof area for 10–15 minutes, watching for leaks from inside.
- Address any water intrusion immediately—do not delay repairs.
- Schedule your municipal inspection if required by permit.
Insurance Considerations: Protecting Your Home and Investment
Will Insurance Cover Skylight Installation?
Standard homeowners insurance typically does not cover the installation itself, but should insure the skylight as part of your dwelling once installed. However, claims for water damage from leaks may be denied if the skylight was installed without permits or by unlicensed contractors. Always update your insurer about major home improvements, and keep documentation of permits, inspections, and contractor credentials.
Reducing Insurance Risks
- Choose skylights with impact-resistant glass if you live in hail- or storm-prone areas.
- Maintain detailed installation records and inspection reports.
- Inspect and maintain skylight seals at least annually to prevent future claims issues.
Maintenance and Long-Term Leak Prevention
Annual Maintenance Checklist
- Inspect flashing and seals for cracks or gaps every spring and fall.
- Clean glass and remove debris from around the skylight to prevent water pooling.
- Examine interior drywall for signs of water stains or mold growth.
- Check for condensation or fogging between glass panes—may indicate failed seals.
- Touch up caulking as needed with high-quality exterior sealant.
Common Skylight Myths Debunked
- “All skylights leak eventually.”—Proper installation and maintenance prevent leaks for decades.
- “Skylights always overheat rooms.”—Modern glazing, tints, and shades minimize excessive heat gain.
- “Permits aren’t necessary for small skylights.”—Most regions require permits for any structural roof modification, regardless of skylight size.
Conclusion: A Brighter Home With Confidence
Installing a skylight is a powerful way to brighten your home, add value, and create inviting spaces that connect you to the outdoors. But success hinges on careful planning, a realistic budget, and diligent attention to compliance and waterproofing. By understanding the true costs—including materials, labor, permits, and finishing—you can avoid unwelcome surprises. Navigating your local building codes and securing the right permits not only keeps you legal, but protects your home’s insurability and resale value.
Most crucially, leak prevention is not a step to be rushed or overlooked. Following best practices for flashing, insulation, and annual maintenance will keep your skylight watertight and worry-free for years to come. Whether you tackle the project yourself or hire a professional, use this guide as your blueprint for a successful installation. With the right preparation and ongoing care, your home will enjoy all the light and beauty of a skylight—without the headaches of leaks or repairs. Let the sunshine in, and enjoy the comfort of knowing your upgrade is built to last.
I’m looking at adding a vented skylight in my kitchen, but I’m not sure how complex the permit process usually is for something like this. Does it generally require just a building permit, or are there other inspections I should be prepared for?
For a vented skylight in your kitchen, you will almost always need a building permit from your local authority. In many areas, you may also need to schedule inspections—often one for structural work after the opening is framed and another after installation to check for code compliance and weatherproofing. If electrical components or wiring for venting are included, an electrical inspection may also be required. It’s a good idea to check with your local permitting office so you know exactly what’s expected in your area.