
Introduction: Why Insulation Upgrades Matter for Every Homeowner
Upgrading your home’s insulation is one of the most effective investments you can make in comfort, energy efficiency, and long-term savings. Whether you live in a drafty older house or a newer build that could use an efficiency boost, insulation impacts everything from your utility bills to your indoor air quality. Yet, many homeowners hesitate to tackle insulation improvements, unsure about material choices, project costs, or how to ensure a real return on investment. In this in-depth guide, we’ll demystify the process. You’ll learn exactly how to plan your insulation upgrade budget, choose the right materials for different parts of your home, and follow a step-by-step checklist to maximize energy savings. With clear guidance and practical tips, you can confidently take on an insulation project that delivers immediate comfort and ongoing savings, while avoiding costly mistakes and ensuring compliance with local codes. Ready to make your home more comfortable and affordable year-round? Let’s get started.
Understanding Insulation Basics: Where and Why to Upgrade
The Role of Insulation in Home Performance
Insulation slows the transfer of heat, keeping your home warmer in winter and cooler in summer. Effective insulation reduces strain on your HVAC system, lowers energy consumption, and helps maintain consistent indoor temperatures. Common problem areas include attics, walls, basements, and crawl spaces, where inadequate insulation leads to drafts, cold spots, and moisture issues.
Signs Your Home Needs an Insulation Upgrade
- Uneven room temperatures or persistent drafts
- High heating and cooling bills
- Ice dams forming on the roof in winter
- Walls or floors that feel cold to the touch
- HVAC system runs constantly
Where to Prioritize Insulation Upgrades
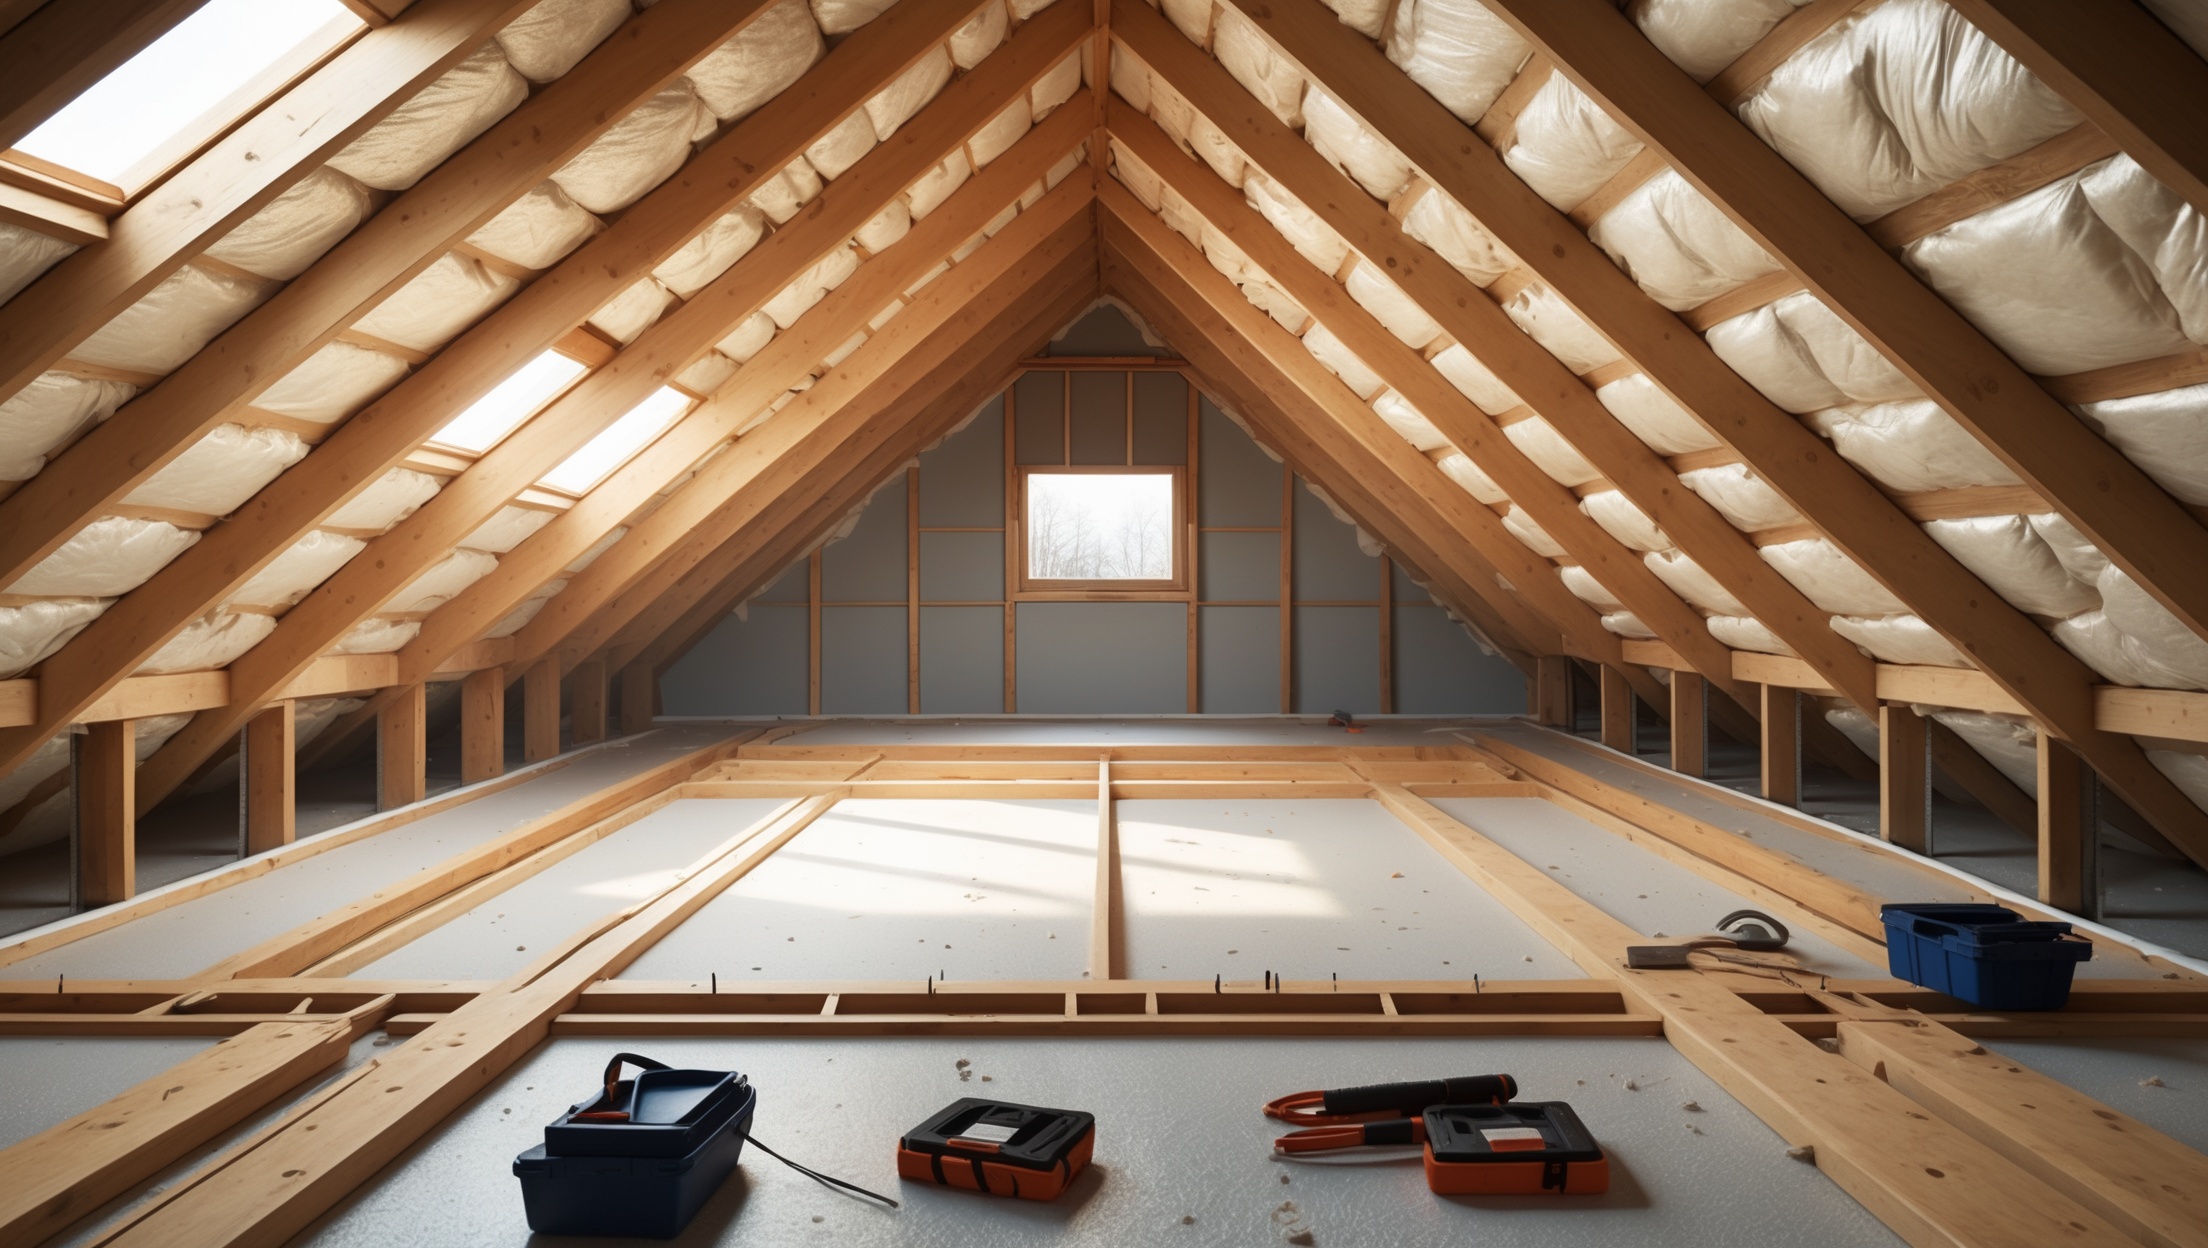
- Attic: Heat rises, making the attic the most important area for insulation.
- Walls: Both exterior and, in some cases, interior walls benefit from added insulation.
- Basement and Crawl Spaces: Prevents moisture, mold, and cold floors.
- Floors Above Unheated Spaces: Reduces heat loss in rooms above garages or vented crawl spaces.
Budget Planning for Insulation Upgrades
Cost Breakdown by Area
- Attic insulation: $1.50–$3.50 per sq. ft. (DIY blown-in or batts), $4–$7 per sq. ft. (spray foam, pro install)
- Wall insulation: $1.25–$3.00 per sq. ft. (blown-in cellulose or fiberglass), $4–$8 per sq. ft. (spray foam, dense-pack cellulose)
- Basement/crawl space insulation: $2.00–$5.00 per sq. ft. (rigid foam, spray foam, batts)
Keep in mind: Prices vary by region, material, and accessibility. Professional installation adds labor costs but ensures code compliance and optimal performance.
Factors Affecting Insulation Costs
- Home size and layout
- Current insulation levels (removal/disposal may be needed)
- Material choice (fiberglass, cellulose, mineral wool, spray foam, rigid foam, etc.)
- DIY vs. professional installation
- Local building codes and permit requirements
Budgeting Tips
- Start with an energy audit for targeted recommendations.
- Focus on high-return areas (attic, basement) if budget is limited.
- Get at least three bids from qualified contractors.
- Plan for contingencies (10–15% above estimate for unexpected issues).
- Look for rebates and incentives from utility companies and government programs.
Insulation Materials Guide: Pros, Cons, and Best Uses
Fiberglass Batts and Rolls
- Pros: Affordable, widely available, easy to install (DIY-friendly)
- Cons: Gaps reduce effectiveness, can irritate skin and lungs without protection
- Best for: Attics, between joists and studs, unfinished walls
Blown-In Cellulose
- Pros: Excellent for filling irregular spaces, eco-friendly (recycled content), good air-sealing properties
- Cons: Needs special blower equipment, can settle over time
- Best for: Attics, wall cavities, retrofits
Spray Foam (Open and Closed Cell)
- Pros: Superior air sealing, high R-value per inch, moisture barrier
- Cons: High cost, requires professional installation, off-gassing concerns
- Best for: Attics, rim joists, basements, hard-to-reach or irregular areas
Rigid Foam Board
- Pros: High R-value, moisture resistant, good for continuous insulation
- Cons: More difficult to fit in odd spaces, exposed edges need sealing
- Best for: Basement walls, exterior sheathing, crawl spaces, under slab
Mineral Wool (Rock or Slag Wool)
- Pros: Fire resistant, repels pests, good soundproofing, does not absorb water
- Cons: More expensive than fiberglass, slightly harder to find
- Best for: Walls, attics, floors, areas needing fire resistance
Reflective and Radiant Barriers
- Pros: Reduces radiant heat, lightweight, easy to install
- Cons: Less effective in cold climates, works best as a supplement
- Best for: Attics in hot climates, garage doors, sun-facing walls
Step-by-Step Insulation Upgrade Checklist
Step 1: Assess Current Insulation Levels
- Inspect attic, walls, and basement for visible insulation and gaps
- Check depth and condition (compare to recommended R-values for your climate zone)
- Use a thermal camera or infrared thermometer for hidden cold spots
Step 2: Address Air Leaks First
- Seal gaps around windows, doors, outlets, and plumbing penetrations
- Use caulk, spray foam, or weatherstripping as appropriate
- Focus on attic hatch, rim joists, and basement sills
Step 3: Plan for Moisture Control
- Ensure proper attic ventilation to prevent condensation
- Install vapor barriers where recommended
- Address roof leaks or foundation seepage before insulating
Step 4: Choose the Right Insulation Material
- Match material to area: batts/rolls for open joists, blown-in or spray foam for cavities, rigid foam for walls/floors
- Calculate total material needs (square footage × desired R-value)
- Factor in local codes and fire safety requirements
Step 5: Installation Best Practices
- Wear protective gear: gloves, goggles, mask, long sleeves
- Install insulation snugly without compressing it
- Cover all exposed areas, including hard-to-reach corners
- Keep insulation away from recessed lighting fixtures unless rated IC (insulation contact)
- For attics, add insulation perpendicular to existing layers for maximum coverage
- Seal all seams and joints in rigid foam with tape or spray foam
Step 6: Post-Installation Inspection
- Check for missed spots, gaps, or compressed insulation
- Verify attic ventilation is not blocked
- Confirm all fire and vapor barriers are properly installed
- Schedule a blower door test (optional) to measure air leakage improvement
Step 7: Document the Upgrade
- Take before-and-after photos for insurance and resale value
- Record material types, R-values, and installation dates
- Save receipts for rebates and tax credits
Energy Savings Checklist: Maximize Your Return on Investment
- Confirm insulation meets or exceeds local code R-values
- Verify attic hatches and access doors are insulated and sealed
- Upgrade weatherstripping on windows and doors
- Install programmable thermostats for better energy management
- Schedule annual HVAC maintenance to maintain efficiency
- Monitor utility bills for post-upgrade savings
- Consider adding insulation to water heater and hot water pipes
- Review eligibility for local energy rebates and submit documentation
Compliance and Permit Essentials
Most insulation projects do not require a permit if you are simply adding to existing insulation. However, if you are removing walls, altering electrical work, or significantly changing the structure, check with your local building department. Always follow local building codes for fire safety, vapor barriers, and minimum R-values. Professional contractors should provide compliance documentation upon completion.
Maintenance and Inspection Best Practices
- Inspect insulation annually for settling, moisture, or pest damage
- Address roof, siding, or plumbing leaks immediately to prevent insulation damage
- Replace or add insulation as needed in high-traffic or exposed areas
- Maintain proper attic and crawl space ventilation
- Monitor for signs of mold or mildew in basements and crawl spaces
Common Insulation Upgrade Mistakes to Avoid
- Ignoring air sealing before insulating
- Choosing the wrong R-value for your climate
- Over-compressing batts, reducing their effectiveness
- Blocking attic ventilation with insulation
- Using the wrong material in damp or fire-prone areas
- Not wearing protective gear during installation
- Overlooking rebate and incentive opportunities
Conclusion: Upgrade Your Comfort and Savings With Confidence
Insulation upgrades are a high-impact home improvement that pay dividends in comfort, lower utility bills, and a healthier living environment. By carefully planning your budget, selecting the right materials, and following best practices for installation and maintenance, you can avoid common pitfalls and maximize your investment. Start with a thorough energy audit and prioritize the areas with the greatest heat loss—usually the attic and basement. Don’t overlook the importance of air sealing and moisture control, both of which are essential for insulation to perform as intended. Whether you’re a DIY enthusiast or prefer to hire a professional, documenting your project and understanding compliance requirements will give you peace of mind and improve your home’s resale value.
Remember, the benefits of upgraded insulation go beyond saving money—they include a quieter, more comfortable home and the satisfaction of reducing your environmental impact. Take action today and enjoy year-round comfort, knowing you’ve made a smart, lasting improvement to your home.