

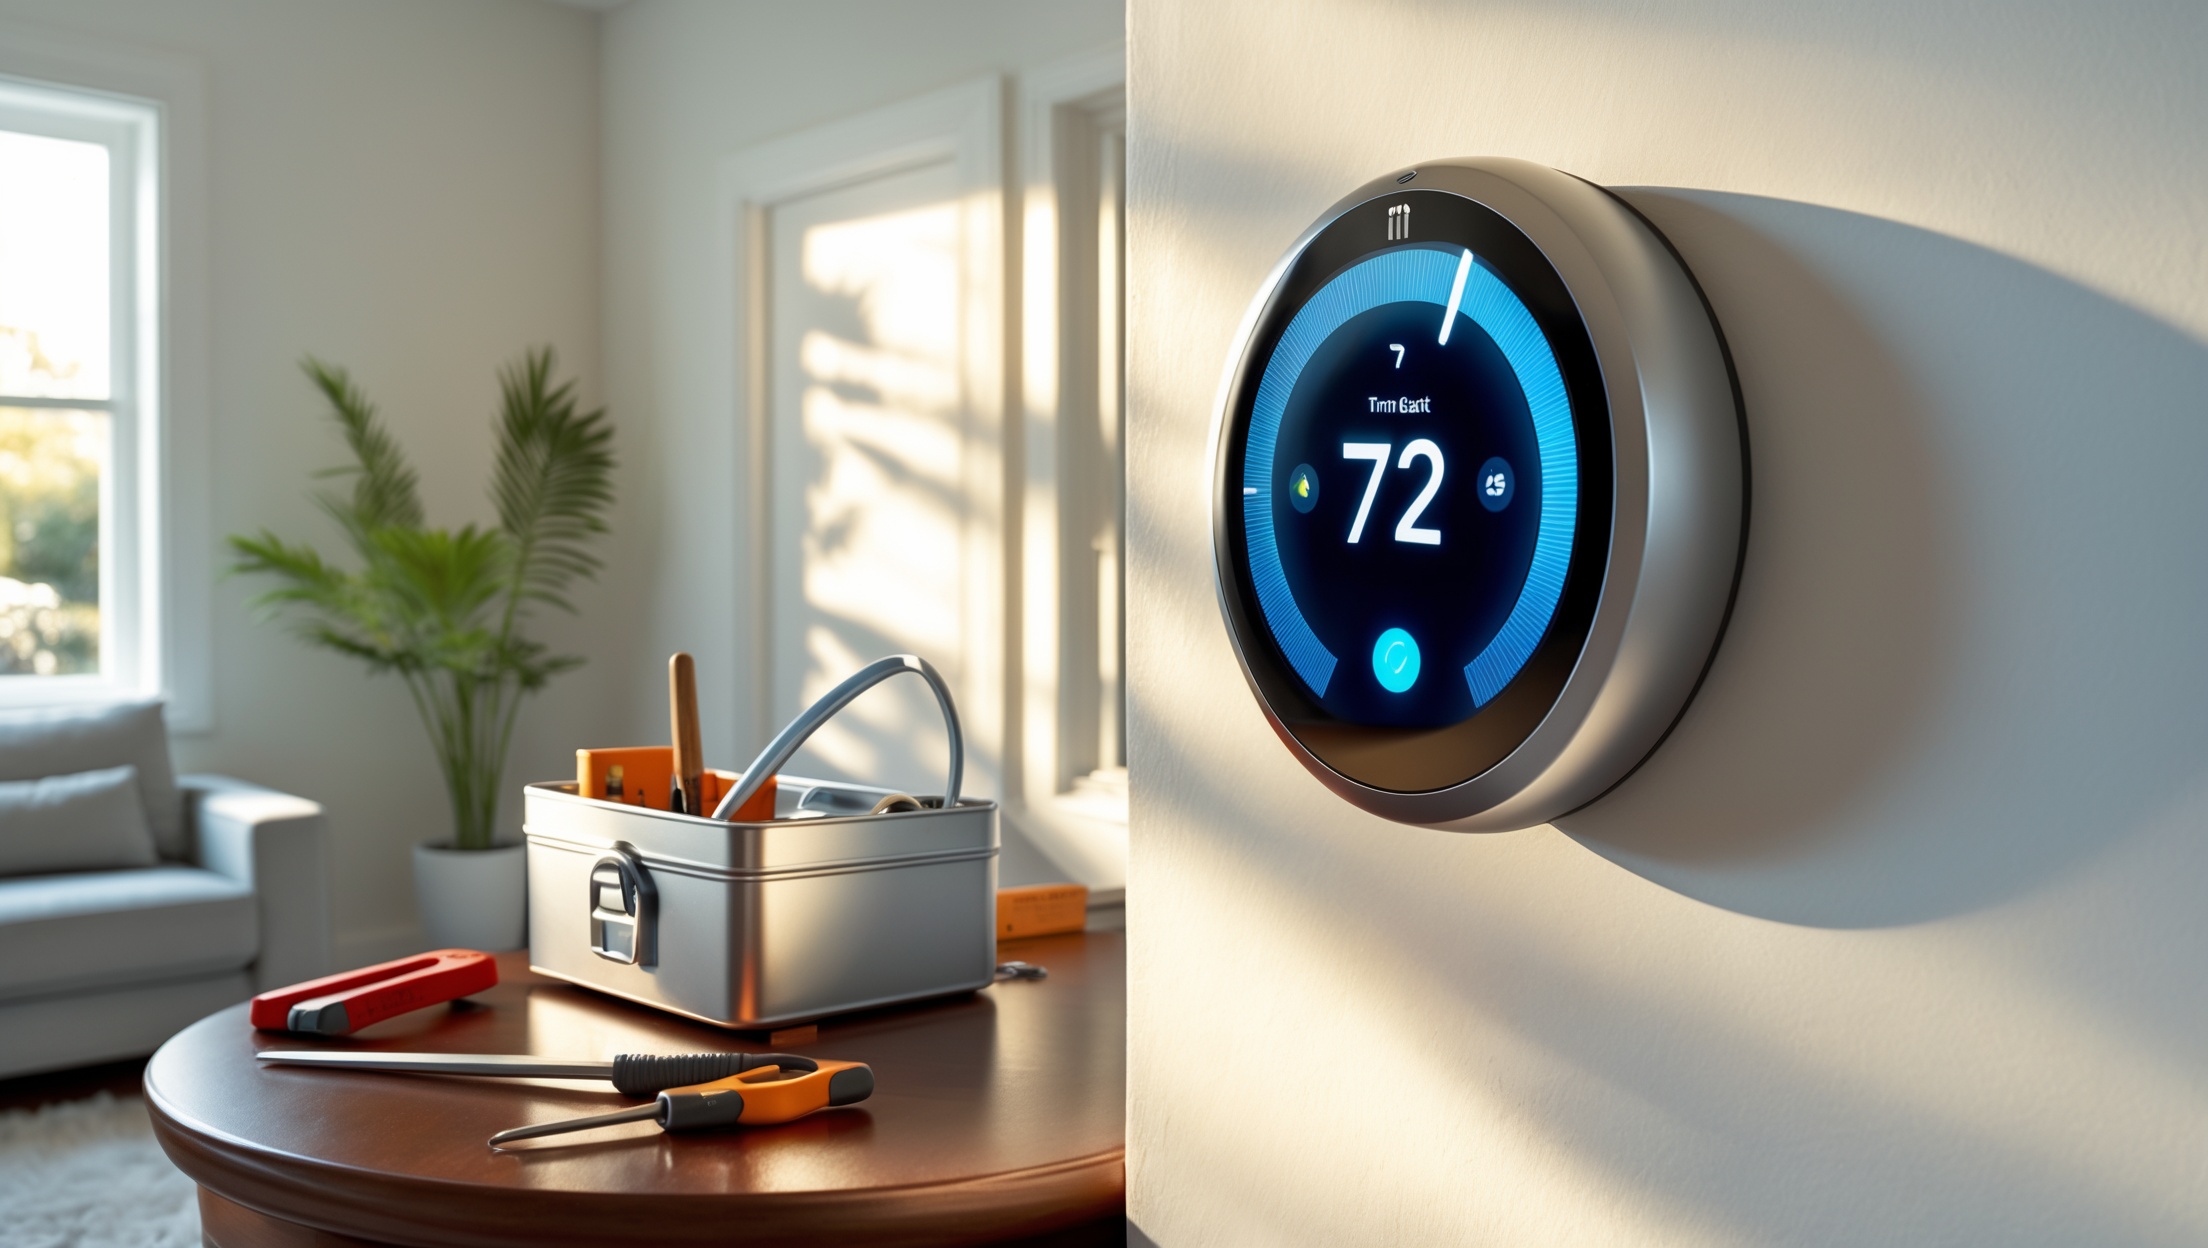
Introduction: Smart Thermostats—A Modern Home Upgrade
As more homeowners seek to improve comfort, energy efficiency, and control over their living environments, smart thermostats have rapidly moved from tech novelty to essential home upgrade. Unlike traditional thermostats, these devices allow for precise scheduling, learning-based temperature adjustments, remote app control, and even integration with broader smart home systems like Alexa or Google Home. Their promise of lower utility bills and enhanced convenience is very real—but to realize these benefits, you need to approach installation and maintenance with care. This guide is your expert companion, offering a practical, step-by-step walkthrough of installing a smart thermostat, a transparent look at costs and budgeting, essential tools, troubleshooting strategies, and maintenance best practices. Whether you’re a tech-savvy DIYer or a cautious beginner, you’ll gain the knowledge to avoid common pitfalls and maximize your investment in smarter home climate control.
Understanding Smart Thermostat Benefits
Energy Savings and Cost Efficiency
Smart thermostats can reduce heating and cooling bills by 10–25% annually, according to the U.S. Department of Energy. Features like geofencing, adaptive learning, and usage analytics help minimize energy waste by only running HVAC systems when needed.
Remote Access and Scheduling
With Wi-Fi connectivity, you can control your thermostat via smartphone apps, adjusting home temperatures from anywhere. Custom schedules ensure your home is comfortable when occupied and economical when empty.
Integrating with Smart Home Systems
Leading models work seamlessly with voice assistants and automation platforms, allowing for routines like ‘Away Mode’ or syncing with other energy-saving devices. This integration can further streamline home management and security.
Cost Breakdown and Budgeting for Installation
Device Costs
- Entry-level models: $80–$130 (limited features, basic app control)
- Mid-range models: $130–$200 (learning algorithms, geofencing, energy reports)
- Premium models: $200–$350 (room sensors, advanced integration, touchscreens)
Installation Costs
- DIY: Free, if you have basic tools and a compatible system
- Professional installation: $100–$250, depending on wiring complexity and region
Hidden Costs to Consider
- C-Wire Adapter: $20–$40 if your system lacks a common wire (required by most smart thermostats)
- Wall Repair: $10–$50 for patching and painting if the new unit doesn’t cover the old footprint
- Upgraded HVAC components: Rarely, older systems may need relays or transformer upgrades ($50–$175)
Budget Planning Tips
Always check your current thermostat wiring before purchase. Allocate an extra 15% in your budget for unexpected issues. If you’re planning a larger smart home upgrade, look for bundled discounts or rebates from your utility provider.
Essential Tools and Preparation
Basic Tools Checklist
- Phillips and flathead screwdrivers
- Small level (bubble or digital)
- Wire labels or masking tape and pen
- Needle-nose pliers
- Wire stripper/cutter
- Drill and small bits (if new holes are needed)
- Voltage tester (for safety)
- Smartphone or tablet (for app setup)
Preparation Steps
- Read the installation manual for your specific thermostat model.
- Turn off power to your HVAC system at the breaker panel.
- Take clear photos of the current thermostat wiring before disconnecting anything.
- Have your Wi-Fi credentials handy.
Step-by-Step Smart Thermostat Installation Guide
Step 1: Remove the Old Thermostat
Gently pull off the faceplate of the old thermostat. Unscrew the mounting plate. Carefully label each wire with the provided stickers or masking tape, matching the terminal letters (e.g., R, W, Y, G, C). If your system lacks a C-wire, consult your new thermostat’s instructions; you may need an adapter.
Step 2: Inspect and Prepare the Wires
Ensure all wires are in good condition and protrude at least 1/4 inch from the wall. Use needle-nose pliers to straighten bent wires. Strip insulation as needed for a clean connection.
Step 3: Install the New Mounting Plate
Hold the new mounting plate flush against the wall. Use a level to ensure it’s straight. Mark screw hole positions. Drill pilot holes if needed, insert wall anchors, then screw the plate securely to the wall. Feed labeled wires through the center opening.
Step 4: Connect the Wires to the New Thermostat
Insert each labeled wire into its corresponding terminal, ensuring a snug fit. Tug gently to confirm security. Double-check the wiring diagram in the manual. If using a C-wire adapter, install it per manufacturer instructions.
Step 5: Attach the Thermostat Faceplate
Snap or screw the new thermostat faceplate onto the mounting plate. Confirm all wires are hidden and the device sits flush against the wall.
Step 6: Restore Power and Initial Setup
Turn the breaker back on. The thermostat should power up. Follow on-screen prompts to select your language, connect to Wi-Fi, and enter your HVAC system details. Download the companion app and complete registration.
Step 7: Test Your System
Test heating and cooling functions through both the thermostat and the app. Set a temporary schedule and confirm the system responds as expected. If anything fails, double-check wiring and consult troubleshooting steps.
Troubleshooting Common Installation Issues
Thermostat Won’t Power On
- Double-check that power is restored at the breaker.
- Ensure all wires, especially the C-wire, are connected securely.
- Consult manufacturer support if the device remains unresponsive.
Wi-Fi Connection Fails
- Check your Wi-Fi password and signal strength at the installation site.
- Move your router closer or use a Wi-Fi extender if needed.
- Ensure your network is on a compatible frequency (2.4 GHz is standard for most models).
HVAC System Doesn’t Respond
- Verify that wires are in the correct terminals.
- Check that system settings (e.g., heat pump vs. forced air) match your HVAC type.
- Some older HVAC systems may require a professional to update relays or controls.
Maintenance Best Practices for Longevity and Efficiency
Regular Firmware Updates
Check the app for firmware updates quarterly. Updates may add features, improve efficiency, or patch security vulnerabilities.
Cleanliness and Physical Care
Dust the thermostat gently every few months with a microfiber cloth. Avoid sprays or liquids that might seep into electronics.
Battery Backup (If Applicable)
If your model uses batteries, replace them annually or as soon as you receive a low-battery alert. Most wall-powered models have an internal battery for power outages.
Review and Adjust Schedules Seasonally
Revisit your thermostat’s schedule at the start of each season. Adjust settings for vacations or changes in household routines to maximize energy savings.
Monitor Energy Reports
Most smart thermostats provide monthly usage reports. Review these to spot inefficient patterns or system issues early.
Smart Thermostat Compatibility Checklist
- Confirm your HVAC system type (gas, electric, heat pump, boiler, etc.) is supported.
- Check for a C-wire; if absent, research compatible adapters.
- Verify Wi-Fi compatibility (most require 2.4 GHz).
- If integrating with smart home platforms, ensure your model supports your preferred ecosystem (e.g., Apple HomeKit, Amazon Alexa).
Safety Precautions You Shouldn’t Skip
- Always turn off power at the breaker before handling wires.
- Use a voltage tester to confirm no live wires before touching.
- Keep small hardware and wire pieces away from children and pets.
- Don’t force wires into terminals—if they don’t fit, trim and restrip as needed.
- If you encounter unfamiliar wiring or HVAC components, consult a licensed professional.
Advanced Tips: Getting the Most from Your Smart Thermostat
Utilize Geofencing and Automation
Set up geofencing features to automatically adjust temperatures as you leave or return home. Explore IFTTT (If This Then That) or your smart home app to create automation routines like ‘turn down heat when no one is home.’
Integrate Room Sensors
Some models support additional sensors placed in bedrooms or offices. These help balance temperatures in multi-story or large homes and improve comfort.
Monitor for HVAC Issues
Many smart thermostats can detect irregular system cycling or alert you to possible furnace or AC problems. Don’t ignore these notifications—they can prevent larger repairs.
Take Advantage of Utility Rebates
Many energy providers offer rebates for smart thermostat installation, sometimes up to $100. Check with your utility and submit documentation promptly.
Conclusion: A Smart Investment in Comfort and Efficiency
Installing a smart thermostat is more than a tech upgrade—it’s a step toward a home that’s more comfortable, efficient, and responsive to your lifestyle. By following the careful planning, step-by-step installation, and proactive maintenance strategies outlined here, you ensure your smart thermostat delivers real savings and convenience, not just flashy features. Remember, the key to a successful installation is preparation: confirming compatibility, budgeting for hidden costs, and following safe wiring practices. Once installed, maximize your investment by learning the advanced scheduling, automation, and reporting features that make these devices truly ‘smart.’ Keep firmware up to date, adjust settings as your household changes, and stay attentive to performance alerts. The result is a home that adapts to your needs, lowers your energy bills, and gives you peace of mind—season after season. If any step feels uncertain, don’t hesitate to consult a professional; a safe, reliable installation is always worth the extra care. Welcome to the future of home comfort—one smart degree at a time.
When it comes to integrating a smart thermostat with Alexa or Google Home, do I need to buy any additional equipment, or do most models include everything I need to connect right out of the box?
Most popular smart thermostats come with built-in compatibility for Alexa and Google Home, so you usually won’t need to buy extra equipment to connect them. However, you will need a stable Wi-Fi connection and the respective mobile apps to complete the setup. Just make sure your chosen thermostat lists support for your preferred voice assistant before purchasing.
For someone budgeting for a smart thermostat, are there any hidden costs to be aware of beyond the device price and basic installation tools? For example, could professional installation or compatibility issues with certain HVAC systems significantly raise the total cost?
In addition to the price of the thermostat and basic tools, you might encounter extra costs such as hiring a professional installer if your wiring is complex or if you’re not comfortable doing it yourself. Some older HVAC systems may require a C-wire adapter or additional hardware, which can add to your expenses. It’s also possible that advanced features might need paid subscriptions, so it’s good to check those details before purchasing.