

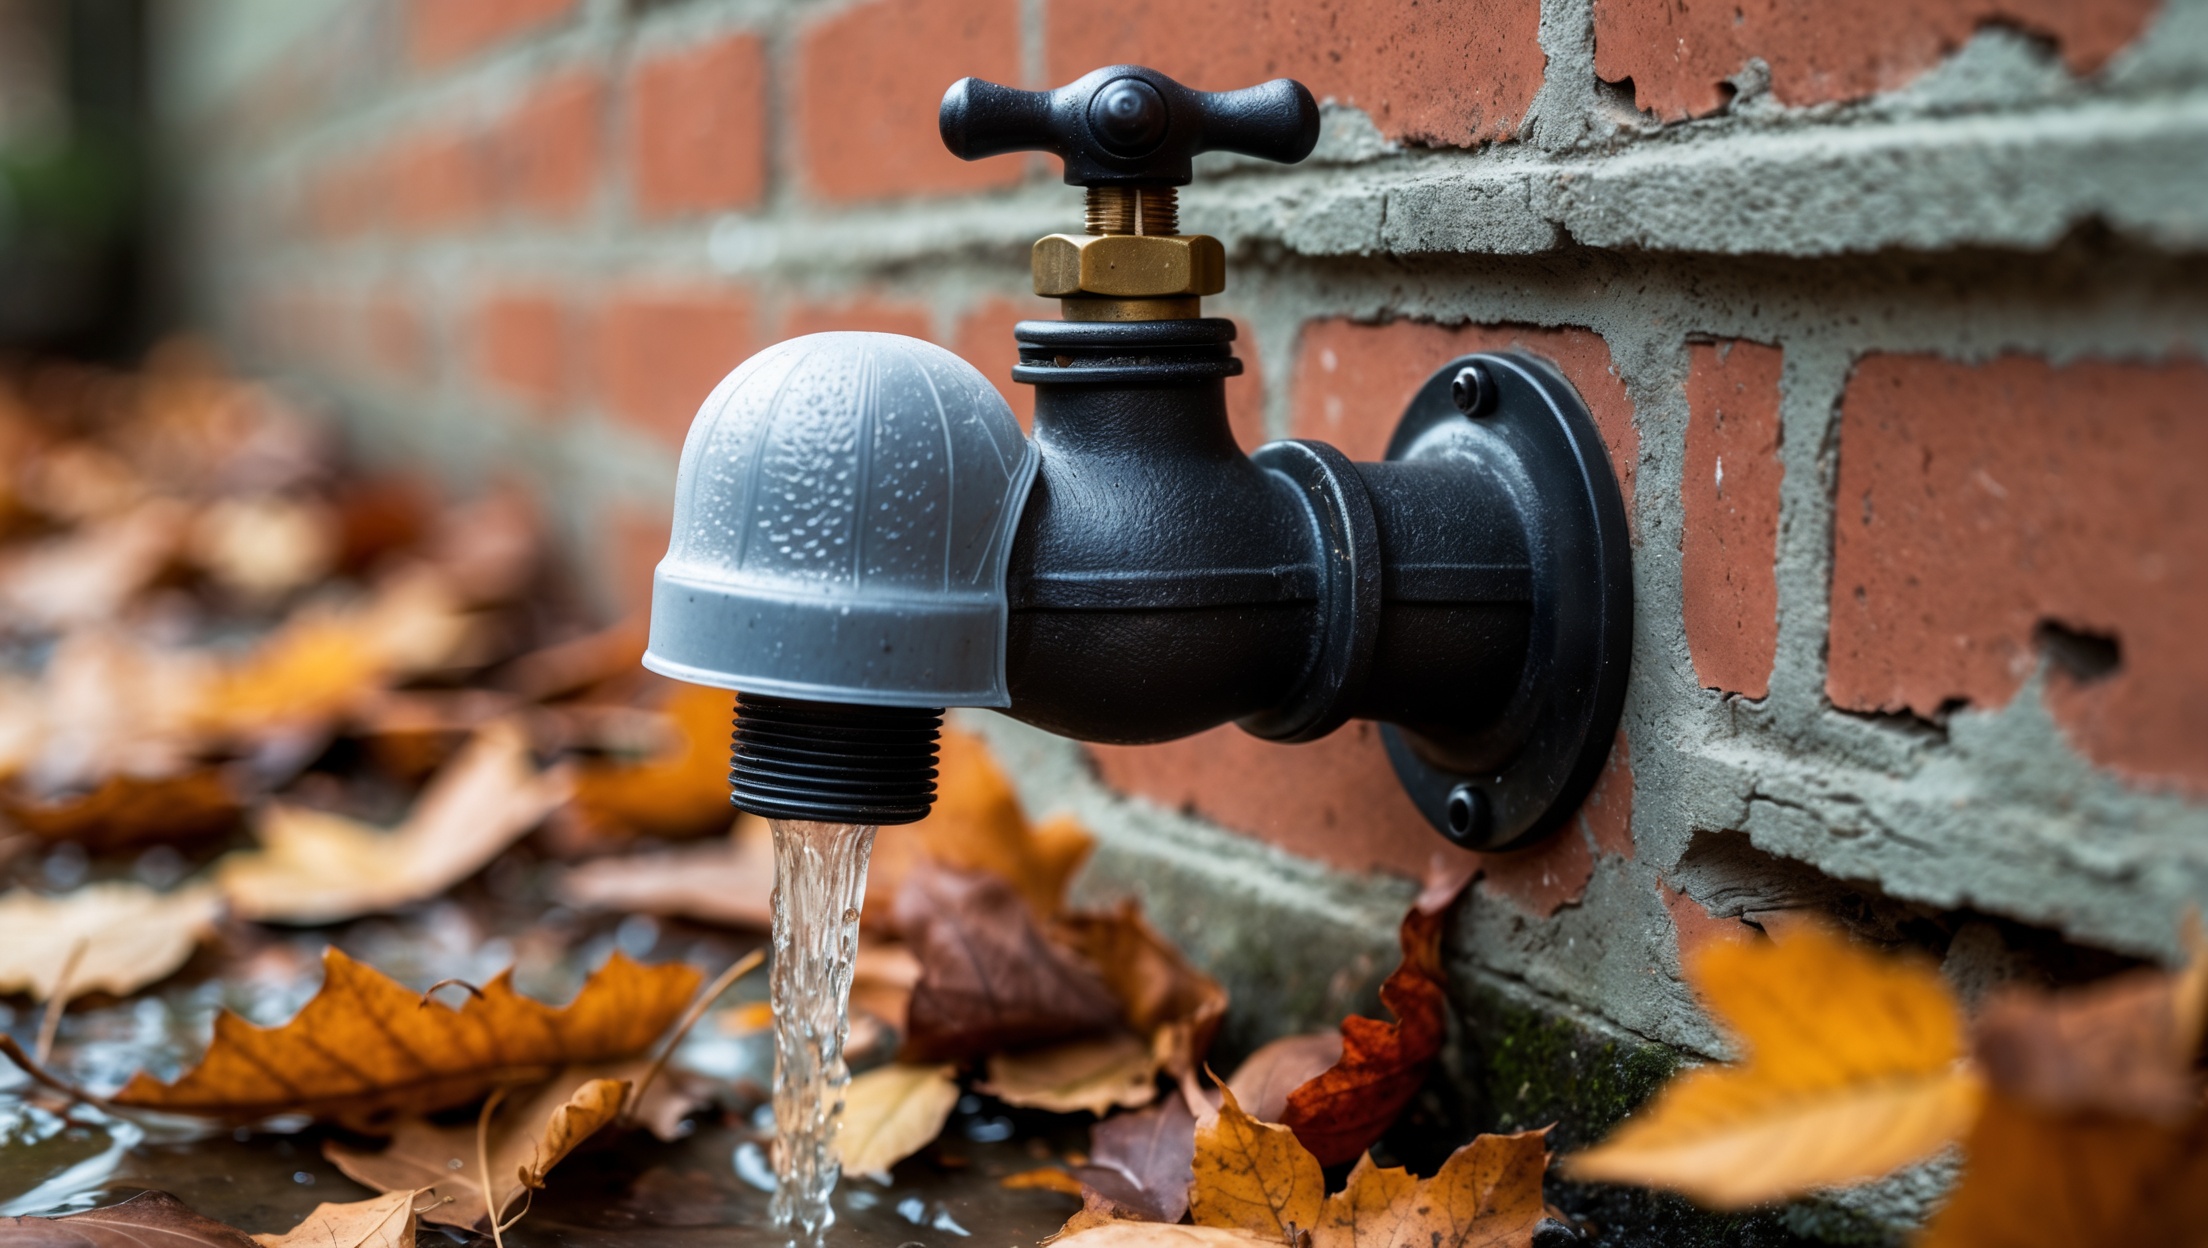
Introduction: Why Winterizing Outdoor Faucets Matters
As temperatures drop, one of the most overlooked yet critical home maintenance tasks is winterizing outdoor faucets. Many homeowners underestimate the risks of leaving exterior spigots unprotected, only to face the consequences of frozen pipes, water damage, and expensive repairs come spring. Outdoor faucets are directly exposed to freezing air, and when water left inside them freezes, it expands—cracking pipes and causing leaks that may remain undetected until it’s too late. The cost of repairing burst pipes can range from hundreds to thousands of dollars, making a few preventative steps a smart investment in your home’s safety and value.
Properly winterizing your outdoor faucets is not just about avoiding inconvenience or minor leaks. It’s a safeguard against structural damage, mold, and wasted resources. Thankfully, the process is straightforward, requires only basic tools, and can be accomplished in less than an hour for most homes. This guide will walk you through every step, from preparing your tools and assessing your home’s setup to executing a thorough winterization and establishing ongoing maintenance best practices. Whether you’re a first-time homeowner or an experienced DIY enthusiast, mastering this seasonal task will ensure your plumbing stays protected no matter how cold it gets.
Understanding the Risks: What Happens if You Don’t Winterize?
The Science Behind Frozen Pipes
Water expands as it freezes, exerting pressure on the pipes that contain it. Outdoor faucets are particularly vulnerable because they are often connected to a short length of pipe running through unheated spaces, such as exterior walls or crawl spaces. When water inside these pipes freezes, it can cause the pipe to split or the fitting to crack. Once temperatures rise and the ice thaws, water can pour out of these cracks—often undetected for days or weeks, leading to extensive water damage.
Potential Damages and Costs
- Pipe Bursts: Repairing a burst pipe can cost $500–$1,500, not including water damage restoration.
- Structural Water Damage: Leaked water can soak insulation, drywall, or flooring, leading to mold, rot, and costly repairs.
- Mold Remediation: Moisture from undetected leaks can cause mold growth, necessitating professional treatment.
- Increased Water Bills: Undetected leaks waste water, spiking utility bills.
In short, skipping this simple task is a gamble with high stakes for your home and wallet.
Tools, Materials, and Estimated Costs
Essential Tools
- Adjustable wrench or channel-lock pliers
- Flathead screwdriver
- Bucket or large bowl (for draining water)
- Old towels or rags
Recommended Materials
- Outdoor faucet insulation covers (foam or hard shell types)
- Pipe insulation sleeves (for exposed pipes)
- Frost-free faucet upgrade (optional but highly recommended in cold climates)
- Hose bib vacuum breaker (if not already installed)
Budget Breakdown
- Faucet insulation cover: $3–$10 each
- Pipe insulation sleeves: $2–$5 per 6-foot length
- Basic hand tools: Often already owned or $10–$20
- Frost-free faucet: $20–$50 each (professional installation extra)
For most homeowners, the total cost for basic winterization supplies is under $30 per faucet—far less than even a minor repair bill.
Step-by-Step: How to Winterize Your Outdoor Faucets
Step 1: Disconnect and Drain Hoses
- Remove all garden hoses, splitters, and attachments from outdoor faucets.
- Drain water from hoses by holding one end high and coiling to the other end.
- Store hoses indoors or in a shed to prevent cracking and prolong their life.
Step 2: Locate and Shut Off the Interior Valve
- Most homes have a dedicated shut-off valve inside (usually in the basement or utility room) for each outdoor faucet.
- Turn this valve to the off position.
- If your home lacks shut-off valves, consider having them installed for future ease and safety.
Step 3: Open the Outdoor Faucet
- With the interior valve closed, go outside and open the faucet fully.
- This allows any remaining water in the pipe to drain out.
- Leave the faucet open for several minutes; use a bucket to catch water if needed.
Step 4: Drain the Remaining Water
- Place towels or a bowl under the faucet while it drains.
- If your line has a bleeder cap (a small valve near the interior shut-off), open it and allow additional water to drain out.
- Close the bleeder cap securely when finished.
Step 5: Install Insulation
- Once the faucet is fully drained, attach an outdoor faucet insulation cover tightly over the spigot.
- If any pipe is exposed on the outside wall, wrap it with foam insulation sleeves and secure with tape or zip ties.
- For older homes, check for gaps or cracks in the wall around the faucet and seal with silicone caulk or expanding foam.
Step 6: Consider Upgrading to Frost-Free Faucets
- If you frequently experience deep freezes, replacing standard hose bibs with frost-free models is a smart investment.
- Frost-free faucets have a long stem that shuts off water flow inside the insulated part of your home.
- Professional installation is recommended unless you have advanced plumbing skills.
Maintenance Best Practices for Year-Round Protection
Spring Start-Up
- Remove insulation covers and inspect faucets for damage or leaks before turning water back on.
- Open the interior shut-off valve slowly and check the outdoor faucet while running water through it.
- Immediately address any signs of leaks, drips, or weak flow.
Mid-Season Inspections
- Check insulation covers after severe weather or wind to ensure they are still secure.
- Inspect for signs of animal tampering or physical damage.
Pipe Insulation and Wall Seals
- Periodically inspect insulation sleeves for wear or gaps.
- Reapply or replace as needed, especially before the first hard freeze.
- Seal any new cracks or holes in exterior walls around the faucet.
Don’t Forget: Frost-Free Is Not Foolproof
- Even frost-free faucets can freeze if hoses are left attached or if they are improperly installed.
- Always remove hoses before winter and double-check installation with a plumber if unsure.
Common Myths and Mistakes Debunked
- Myth: “My faucet faces south, so it won’t freeze.”
Fact: Sun exposure helps, but a prolonged freeze can still cause damage—always winterize. - Myth: “Leaving the faucet dripping prevents freezing.”
Fact: This may reduce the risk, but wastes water and does not guarantee pipes won’t freeze further inside the wall. - Mistake: Forgetting to remove hoses.
Consequence: Trapped water in the hose and faucet can freeze and cause the pipe to burst. - Mistake: Skipping insulation covers.
Consequence: Even drained faucets can freeze without a cover in severe cold.
Compliance, Insurance, and Liability Considerations
Local Codes
Some municipalities require backflow prevention devices (vacuum breakers) on outdoor faucets. Confirm compliance with local codes and install as needed.
Insurance Implications
- Most homeowner policies cover accidental water damage from burst pipes, but some exclude damage resulting from lack of maintenance.
- Failure to winterize can be considered negligence, potentially leading to denied claims.
- Document your winterization process (photos, receipts for insulation covers) in case you need to file a claim.
Frequently Asked Questions
- Can I use DIY insulation materials like towels or bubble wrap?
While these can provide short-term protection, commercial faucet covers are more effective, weatherproof, and reusable. - How often should I replace insulation covers?
Inspect covers annually and replace if they show cracks, water damage, or have lost insulation value. - What if I forgot to winterize and a freeze is coming tonight?
Remove hoses immediately, open faucets to drain water, and insulate as best as possible. Apply heat (hair dryer or heat tape) if you suspect a pipe is already frozen.
Conclusion: Protecting Your Home with Simple, Smart Steps
Winterizing outdoor faucets is a small investment of time and money that pays enormous dividends in peace of mind and home protection. While the process is straightforward, its importance cannot be overstated—failing to properly winterize can result in burst pipes, water damage, expensive repairs, and insurance headaches. By following the steps outlined in this guide—disconnecting hoses, shutting off and draining water, insulating faucets, and inspecting for leaks—you’ll dramatically reduce your risk of costly winter plumbing emergencies.
Remember, outdoor faucet maintenance isn’t just a one-time autumn chore. Ongoing inspections throughout the cold season, prompt repairs of any leaks or insulation gaps, and proper spring start-up procedures are all part of a complete home protection strategy. Upgrading to frost-free faucets and ensuring compliance with local plumbing codes provide additional layers of security. Keep in mind that insurance coverage for pipe bursts may be contingent on responsible maintenance—so document your work and keep receipts for any supplies.
Ultimately, winterizing your outdoor faucets is a classic example of an ounce of prevention being worth a pound of cure. With the right tools, a little attention to detail, and annual follow-through, you can enjoy a worry-free winter no matter how low the temperature drops. Protect your investment, avoid unnecessary expenses, and maintain the comfort and value of your home year after year by making this simple task a permanent part of your seasonal checklist.