

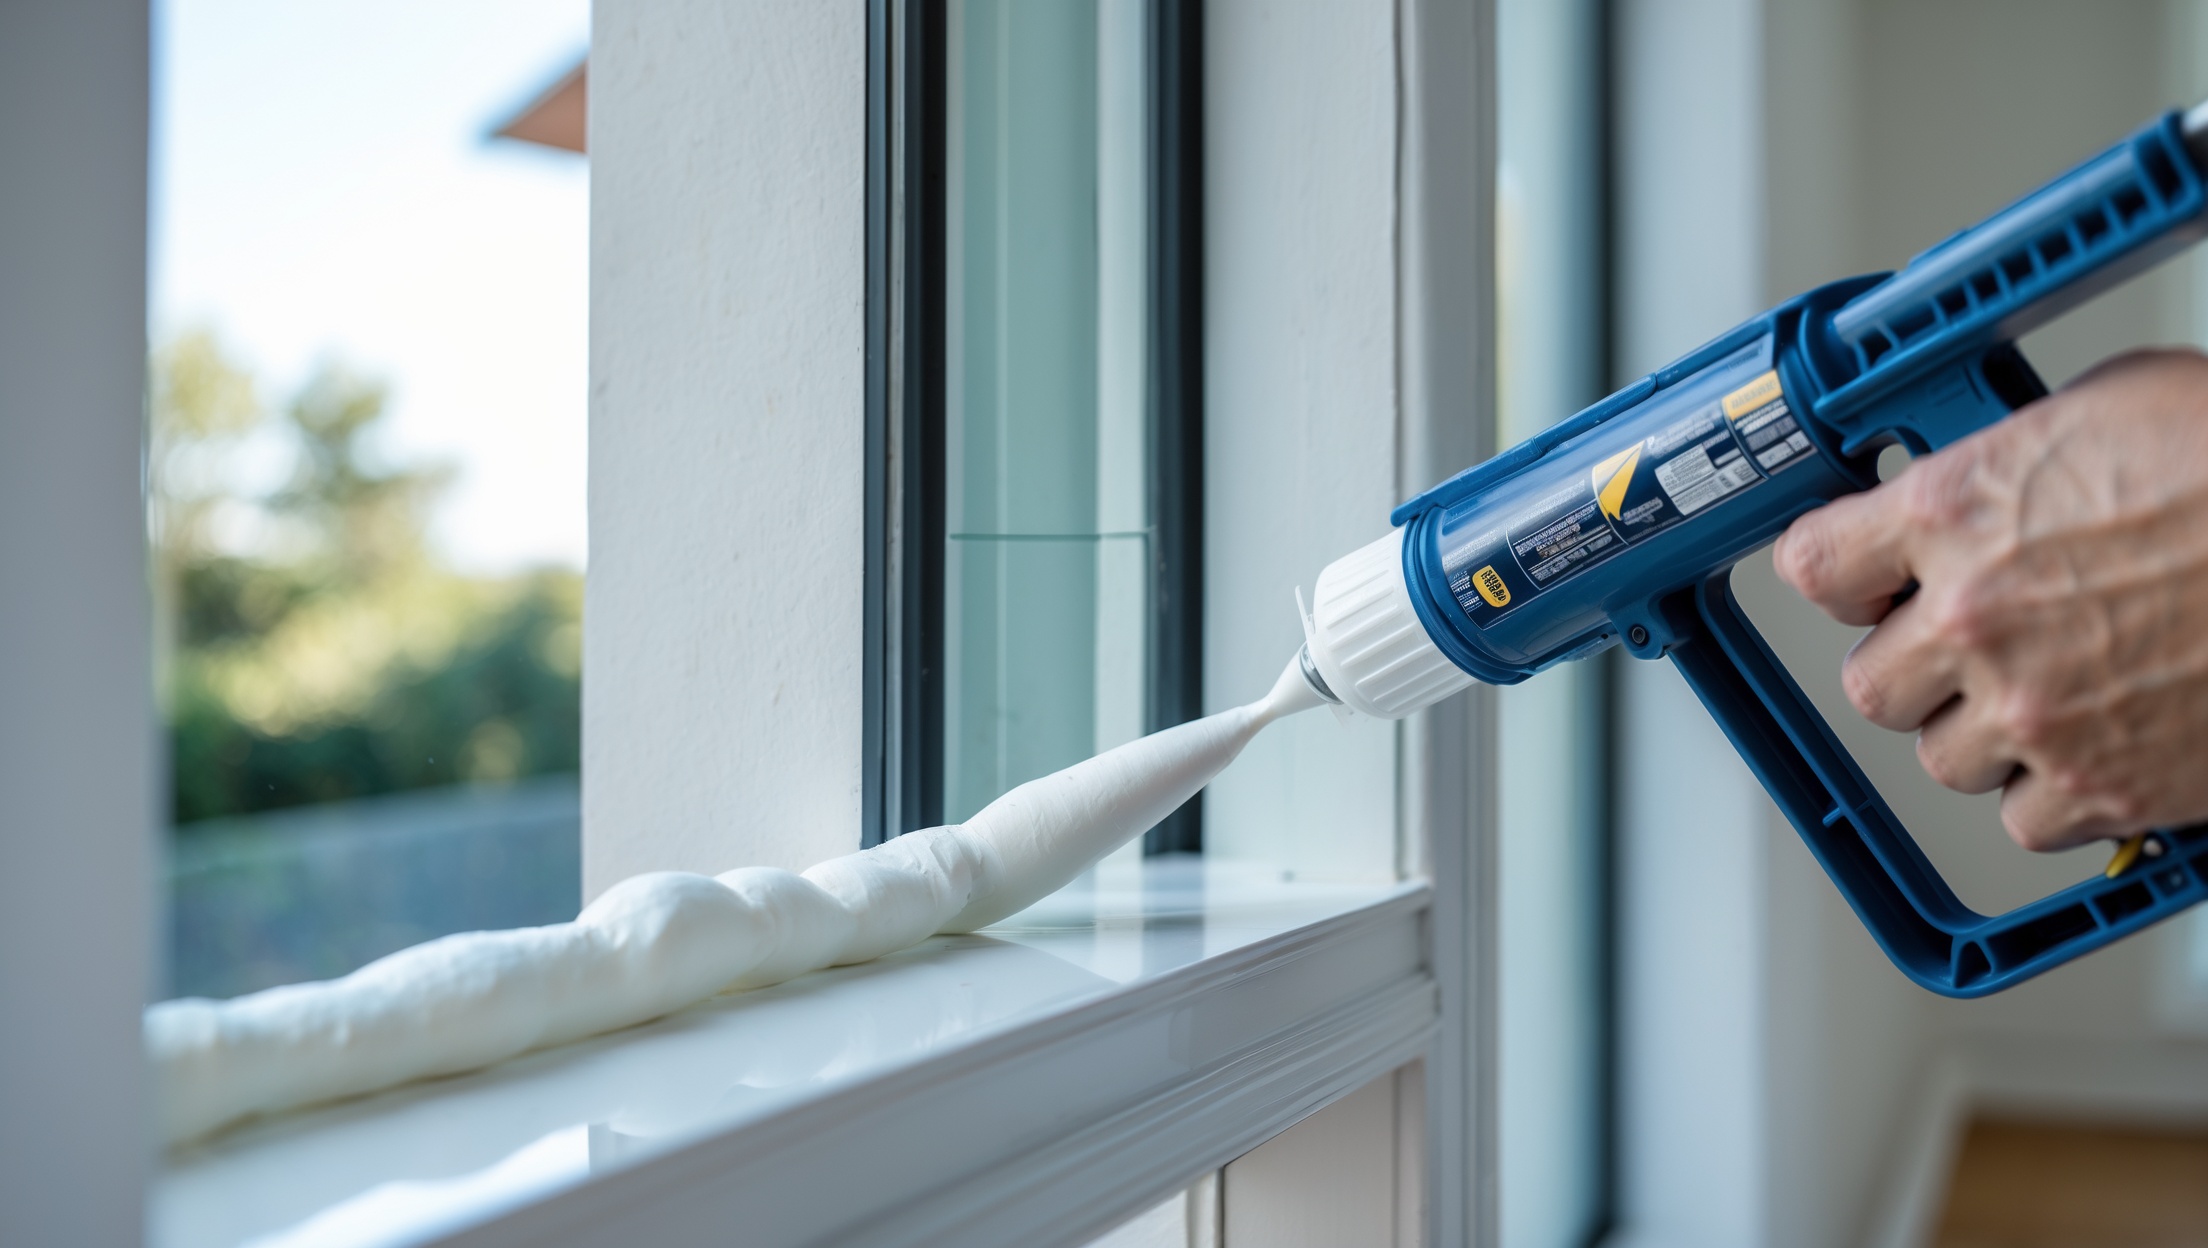
Introduction: Why Caulk Gun Skills Matter in Home Improvement
Many homeowners underestimate the impact of skillful caulk gun use—until a poorly sealed bath, a drafty window, or a cracked baseboard exposes the consequences. Caulking is more than just squeezing a tube; it’s an essential craft that keeps your home energy-efficient, watertight, and looking sharp. Yet, despite its importance, myths and mistakes abound: from misjudging the right tool to using improper technique, these errors can lead to unsightly messes and costly repairs. Whether you’re sealing a shower, weatherproofing doors, or tackling trim, mastering caulk gun selection and application is a game-changer. This guide will walk you through expert tool selection, debunk common caulking myths, and detail precision techniques for smooth, long-lasting results. If you want to never fear a bead of caulk again—read on for the practical know-how that transforms this humble tool into one of your home’s most powerful allies.
Understanding Caulk and Caulk Guns: The Basics
Types of Caulk: Know Your Options
- Acrylic Latex Caulk: Paintable, easy to clean up, best for dry surfaces like baseboards and trim.
- Silicone Caulk: Highly flexible and waterproof, ideal for kitchens, baths, and exterior joints.
- Polyurethane Caulk: Tough, paintable, and flexible—excellent for outdoor projects.
- Hybrid/Formulated Caulks: Combine benefits from various types for specialty applications (e.g., window/door, roofing, gutter caulks).
Types of Caulk Guns: Manual, Dripless, and Powered
- Manual (Ratchet) Guns: Simple, inexpensive, but can be hard to control and often drip excess caulk.
- Dripless (Smooth Rod) Guns: Feature an automatic pressure release, offering better control and less mess.
- Powered Guns: Battery or pneumatic-powered, these are for heavy users—providing consistent flow but at a higher price point.
Caulk Gun Anatomy
- Frame: Holds the tube in place.
- Trigger: Controls the push of the plunger.
- Plunger Rod: Advances the caulk tube piston.
- Nozzle Cutter/Seal Puncture Tool: Useful add-ons for convenience.
Choosing the Right Caulk Gun for Your Project
Not all caulk guns are created equal—and using the wrong one can make even simple jobs frustrating. Here’s what to consider when selecting your tool:
Thrust Ratio: The Key Number
The thrust ratio determines how much force is applied to the caulk tube with each trigger pull. Lower ratios (3:1 to 6:1) are fine for thin latex caulks, while thicker materials or cold conditions demand higher ratios (10:1 to 26:1). For most home improvement tasks, a 10:1 to 12:1 smooth rod (dripless) gun offers the best balance of control and power.
Comfort and Build Quality
- Ergonomic grip: Reduces hand fatigue on larger projects.
- Heavy-duty construction: All-metal frames outlast plastic models, especially for frequent use.
- Rotating barrel: Allows consistent bead placement around corners.
Special Features Worth Having
- Nozzle cutter and seal puncture rod for convenience.
- Dripless mechanism to prevent caulk oozing after releasing the trigger.
- Integrated ladder hook for easy storage during elevated work.
Debunking Common Caulking Myths
Myth 1: Any Caulk Will Work for Any Job
Using interior acrylic caulk outside, or standard latex in a wet shower, leads to premature failure. Always match caulk type to surface and exposure conditions.
Myth 2: Cutting the Nozzle Wide Saves Time
Cutting a large opening usually results in messy, uneven beads and wasted material. For most jobs, a small 1/8″ to 3/16″ diagonal cut delivers professional results and better control.
Myth 3: Caulking Is Only About Appearance
While caulking does tidy up joints, its primary job is to create a durable seal against air, water, and pests. Skipping proper prep and application can lead to hidden water damage and higher energy bills.
Myth 4: More Caulk Means a Better Seal
Overfilling joints creates weak, cracked beads. The best seal is a smooth, slightly concave bead that bridges the gap without excess bulk.
Myth 5: You Don’t Need to Prep the Surface
Applying caulk over dust, old paint, or existing caulk prevents adhesion and shortens the lifespan of your work. Proper prep is non-negotiable for results that last.
Step-by-Step Guide: Pro-Level Caulking Application
1. Gather the Right Tools and Materials
- Appropriate caulk (see earlier section)
- Quality caulk gun (preferably dripless)
- Utility knife or scissors for nozzle cutting
- Painters’ tape (optional, for crisp lines)
- Rags, paper towels, or baby wipes for cleanup
- Caulk smoothing tool or a damp finger
- Vacuum or brush for surface prep
2. Prepare the Surface
- Remove old caulk using a caulk remover tool or putty knife.
- Scrub away dirt, dust, grease, and loose paint.
- Ensure the area is dry (unless using a special wet-surface caulk).
3. Prepare the Caulk Tube
- Cut the nozzle at a 45-degree angle to the smallest size that covers the gap.
- Puncture the inner seal with the built-in rod or a long nail.
4. Load the Caulk Gun
- Pull back the plunger rod.
- Insert the caulk tube, nozzle facing out.
- Push the plunger snug against the tube’s base.
5. Applying the Bead
Hold the gun at a 45-degree angle to the joint. Squeeze the trigger steadily and move smoothly along the seam. Aim for a continuous bead—don’t stop mid-joint if you can avoid it. Practice on scrap material first if you’re new to caulking.
6. Tooling the Caulk
- Immediately smooth the bead with a caulk tool or damp finger before a “skin” forms (usually within 5 minutes).
- Remove excess caulk and shape the bead for a clean, concave finish.
- If using painter’s tape for crisp lines, remove it before the caulk skins over.
7. Cleanup
- Wipe away smears and stray caulk right away.
- Clean your hands and tools with soap and water (for latex) or mineral spirits (for silicone or polyurethane).
8. Curing Time
Follow the manufacturer’s instructions—most caulks require 24 hours to fully cure, but some fast-dry formulas are ready for painting in as little as 30 minutes.
Advanced Tips for Flawless Results
- Warm the Tube: Cold caulk is stiff and harder to apply. Store tubes at room temperature before use.
- Batch Your Work: Caulk similar areas together for consistency and efficiency.
- Change Tubes Early: If the bead becomes hard to push, swap tubes before straining the gun or your hand.
- Maintain Your Gun: Clean the nozzle and plunger rod after each project for smooth operation and longer tool life.
- Use Backer Rod for Wide Gaps: For joints wider than 1/4″, insert foam backer rod before caulking to reduce waste and improve flexibility.
Common Caulking Mistakes and How to Avoid Them
- Messy, uneven beads: Use a smaller nozzle opening and steady, slow trigger pulls. Practice makes perfect.
- Poor adhesion: Never skip surface prep—clean and dry is essential.
- Cracking or peeling: Avoid overfilling gaps and use the correct caulk type for movement-heavy joints.
- Ignoring curing time: Don’t paint or expose to moisture before the caulk has set.
- Using expired products: Check date codes; old caulk may not cure properly.
Best Practices for Specific Home Projects
Windows and Doors
Use paintable latex or hybrid caulk for interior trims; high-quality silicone or polyurethane for exterior frames. Apply on a dry day above 40°F for best adhesion.
Bathrooms and Kitchens
Always use 100% silicone caulk for tubs, showers, and sinks. Make sure surfaces are bone-dry and free of soap residue. Mask edges with painter’s tape for hotel-quality lines.
Baseboards and Trim
Latex caulk is easy to apply and clean, and the finish is paintable. Fill gaps before painting for a seamless appearance.
Concrete and Masonry
Choose polyurethane or specialty masonry caulk for expansion joints, steps, and foundation cracks. Clean surfaces thoroughly—dust and loose particles will ruin adhesion.
Maintaining Your Caulk Gun and Supplies
- Store upright: Prevents caulk seepage and maintains tube integrity.
- Seal open tubes: Insert a nail or screw into the nozzle and wrap tightly with plastic to keep unused caulk fresh.
- Lubricate moving parts: Occasionally oil the trigger and plunger rod for long-lasting, smooth performance.
- Replace worn parts: A sticky trigger or bent rod will sabotage your results—swap out or upgrade as needed.
When to Call a Professional
While most caulking jobs are DIY-friendly, some situations call for pro help:
- Extensive water damage or mold behind caulked joints.
- High-rise or difficult-to-reach exteriors (safety risk).
- Specialty surfaces (e.g., historic restoration, stonework) requiring expert materials and methods.
Conclusion: Elevate Every Home Project with Caulk Gun Mastery
Caulking is often overlooked, yet it’s the final touch that sets apart a well-finished home improvement project from a mediocre one. Mastering your caulk gun—selecting the right tool, understanding material compatibility, and applying with confidence—is a foundational skill that pays dividends in every room. With the proper technique, you protect your home from water, pests, and drafts, all while creating crisp, professional lines that enhance the beauty of your living space. By debunking common myths, avoiding classic mistakes, and following the best practices detailed above, you can turn caulking from a dreaded chore into a source of pride and satisfaction. Remember, the results are only as good as the preparation and care you invest. So next time you pick up your caulk gun, approach it not as a disposable task, but as a craft—one that rewards attention, patience, and the right knowledge. Your home (and your peace of mind) will thank you for it.