

Introduction: Why a Dust-Free Workspace Matters
Home improvements often bring excitement and anticipation, but they can also unleash a surprising amount of dust and debris into your living space. Whether you’re sanding down walls, cutting wood, or demolishing outdated fixtures, the resulting dust can infiltrate every corner of your home—settling in air ducts, damaging electronics, and posing risks to your health. For homeowners, families with allergies or asthma, and even your pets, uncontrolled renovation dust is more than just a nuisance; it can trigger respiratory issues, damage belongings, and turn a simple project into a costly cleanup mission.
Setting up a dust-free workspace before you begin your renovation project is the best way to safeguard your home, health, and sanity. While no solution is 100% dust-proof, the right strategies can dramatically reduce airborne particles and keep your home environment safe and tidy. This comprehensive, step-by-step guide walks you through the essential practices—from isolating work zones and using the right tools, to air filtration and thorough cleanup—ensuring your next project is as clean and comfortable as possible.
Step 1: Select and Prepare Your Workspace
Choose the Right Area
Identify a space that can be easily contained. If possible, choose rooms with doors, or areas separated from high-traffic living spaces. Avoid open-concept zones unless you can create effective temporary barriers.
- Clear out unnecessary items: Remove furniture, decor, electronics, and soft furnishings that can attract dust or be damaged.
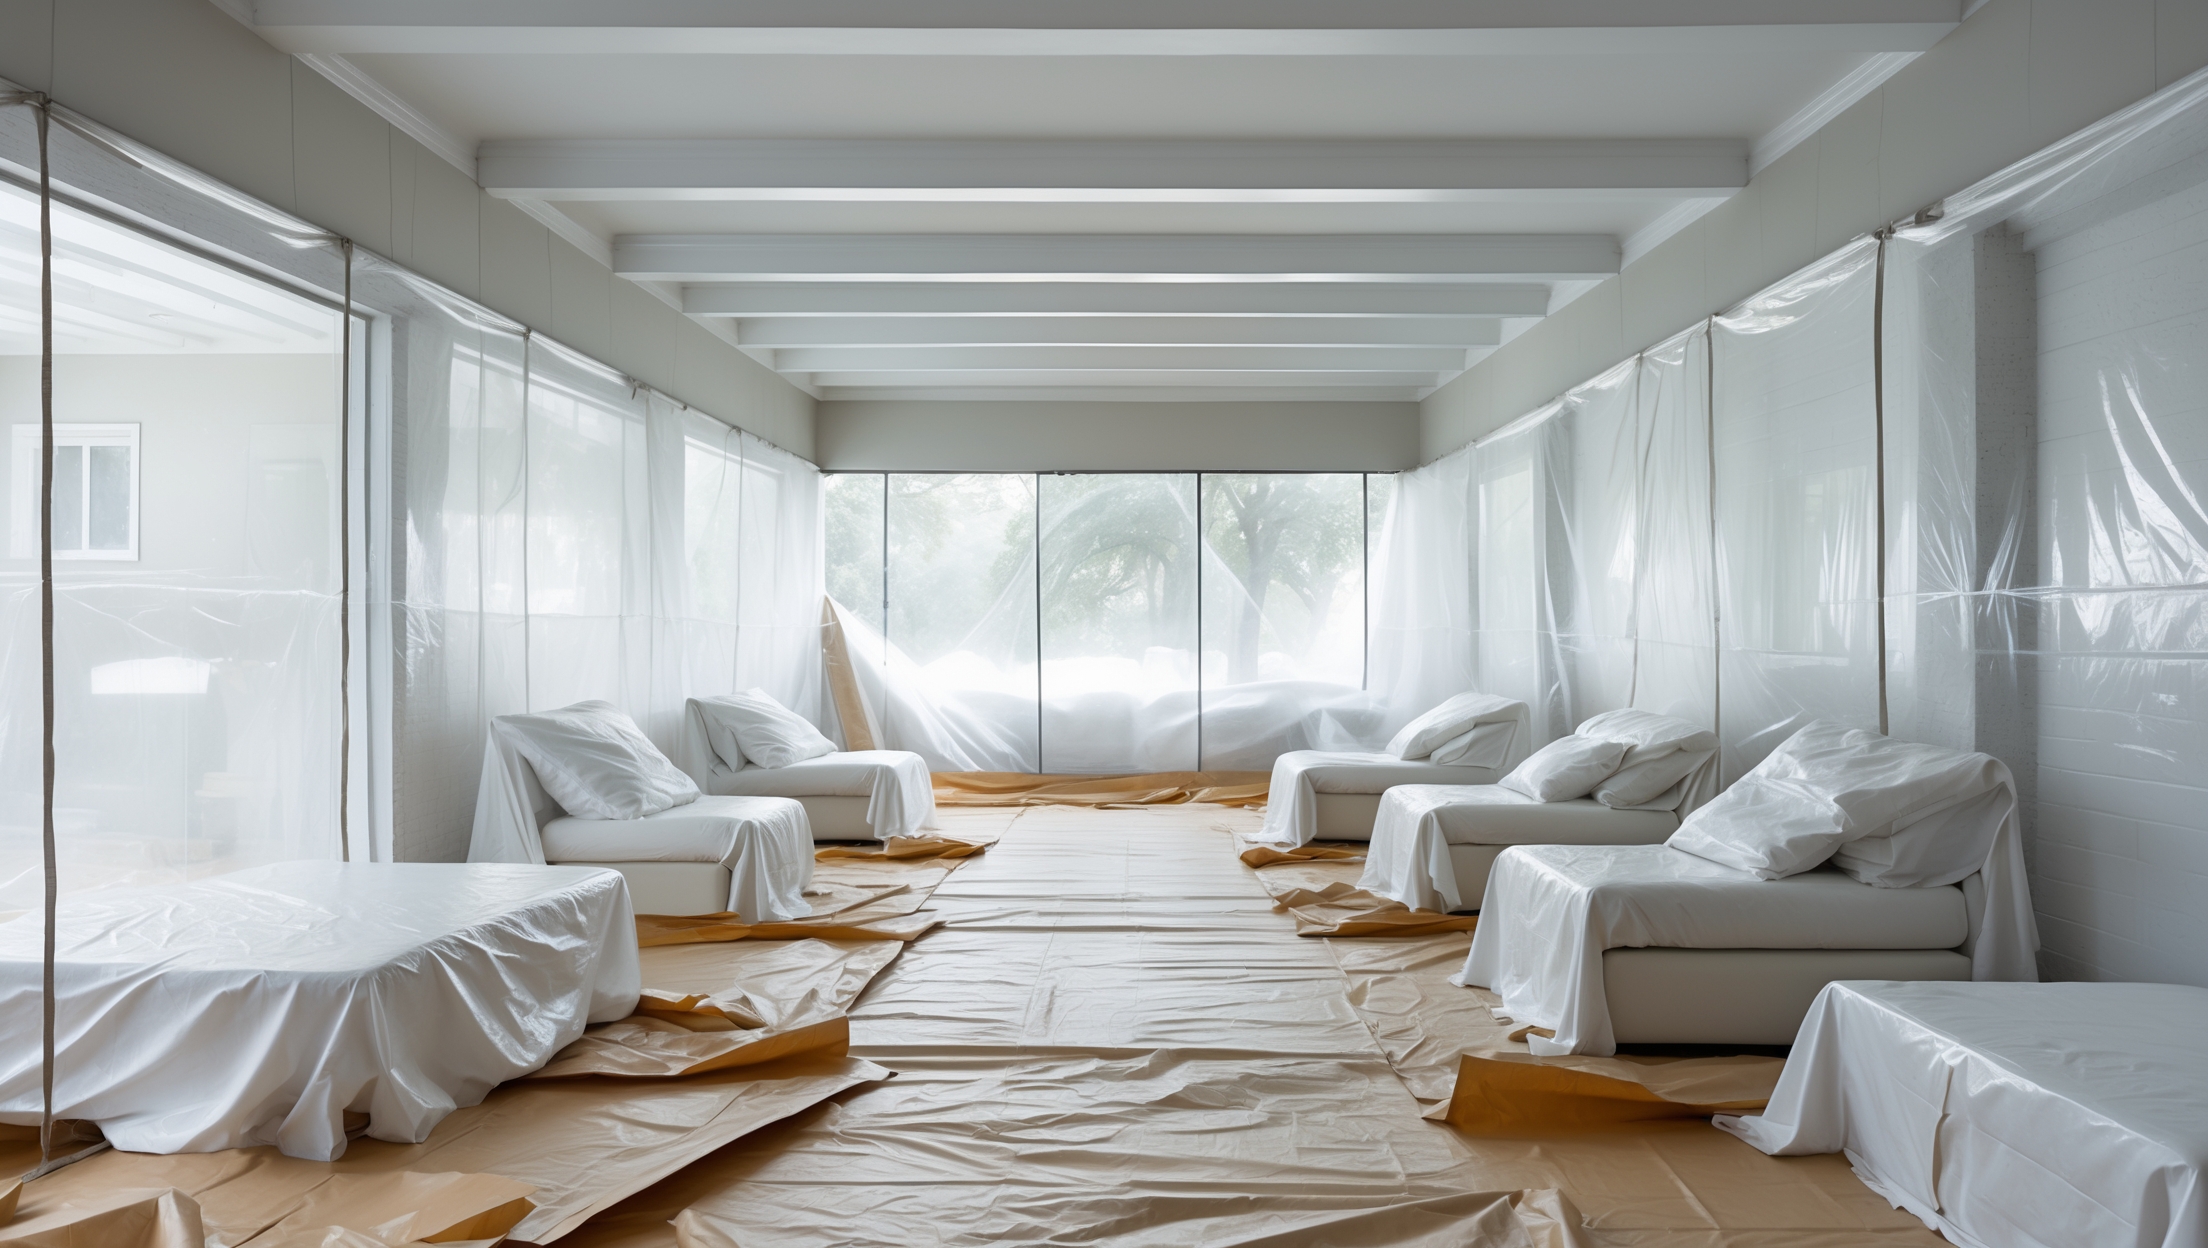
- Protect what stays: For items too large to move, cover them securely with plastic sheeting or drop cloths and seal with painter’s tape.
Seal Off Entry Points
Dust travels through even the tiniest openings. Spend time sealing off all potential leak points to contain mess within the workspace.
- Doors: Close doors and seal gaps with weatherstripping or painter’s tape. If doors don’t exist, use zippered plastic dust barriers or temporary wall systems.
- Vents: Cover HVAC vents and returns with magnetic vent covers or tape-secured plastic to prevent dust from entering your ventilation system.
- Windows: If you need ventilation, open windows but install fine mesh screens to keep dust from escaping outside or re-entering.
Step 2: Create Effective Dust Barriers
Install Plastic Sheeting
Use heavy-duty plastic sheeting (at least 4 mil thick) to create a physical barrier. Floor-to-ceiling coverage is essential.
- Attach sheeting to ceilings and walls with painter’s tape or adhesive zip poles.
- Overlap seams by at least 12 inches and tape them tightly.
- For regular access, use zippered dust doors, which allow entry while maintaining a seal.
Temporary Walls and Containment Systems
For larger projects, consider modular dust containment systems or build a temporary wall using PVC pipe frames and plastic sheeting. These can be re-used and adjusted for future projects.
Step 3: Protect Floors and Pathways
Floor Coverings
Floors are especially vulnerable to scratches and dust buildup. Use:
- Adhesive plastic film: Ideal for hard floors and carpet, this sticks securely but is easy to remove.
- Ram board or cardboard: For heavy-duty protection against dropped tools or materials.
- Drop cloths: For quick coverage, though they can bunch up and may not block fine dust.
Designated Walkways
Lay sticky mats at entry/exit points to trap dust from shoes and wheels. Mark a clear path for workers to follow and keep outside of it as clean as possible.
Step 4: Manage Airflow and Ventilation
Negative Air Pressure
Creating negative air pressure helps ensure dust stays in the work area instead of drifting into the rest of your home.
- Place a box fan facing outward in a window to draw air (and dust) outside.
- Seal around the fan with plastic and tape to avoid leaks.
- Keep all other doors and windows in the work area closed.
Air Scrubbers and Purifiers
Professional-grade air scrubbers with HEPA filters can capture up to 99.97% of airborne dust particles. For smaller jobs, use portable HEPA air purifiers positioned near the workspace.
- Run scrubbers continuously during and after work sessions.
- Clean or replace filters frequently for optimal performance.
Step 5: Use Low-Dust Tools and Techniques
Choose the Right Tools
Modern power tools often come with dust collection attachments. Invest in or rent tools with built-in vacuums or connectors for shop vacs.
- Saws: Use circular saws and miter saws with dust bags or vacuum ports.
- Sanders: Opt for models with integrated dust collection or connect to a HEPA shop vac.
- Hand tools: Use wet methods (e.g., wet sanding or using a damp sponge) when possible to minimize airborne dust.
Work Smart
- Cut and sand materials outdoors whenever weather and project size allow.
- Keep work surfaces damp when cutting or sanding drywall, tile, or concrete.
Step 6: Daily Clean-Up Routines
Vacuum and Wipe Down
At the end of each workday, vacuum all surfaces with a HEPA-filter vacuum. Avoid sweeping, which stirs up fine dust. Wipe down hard surfaces with a damp microfiber cloth.
- Vacuum floors, window sills, and ledges.
- Clean tools before putting them away or taking them out of the workspace.
Contain and Dispose of Debris
Collect large debris in heavy-duty contractor bags and seal them before removing from the workspace. Transport bags directly outside to avoid spreading dust through the house.
Step 7: Post-Project Deep Cleaning
Gradual Removal of Barriers
When your project is finished, don’t rush to remove plastic sheeting and floor coverings. Roll up barriers slowly, folding dust inward to avoid releasing trapped particles.
Comprehensive Cleaning Checklist
- Vacuum floors, walls, and ceilings with a HEPA vacuum.
- Wipe down all surfaces with damp microfiber cloths.
- Launder washable items and curtains.
- Replace HVAC filters and clean vents thoroughly.
- Consider running a portable air purifier for several days post-renovation.
Additional Tips for Specialized Projects
Lead Paint and Asbestos Precautions
If your home was built before the 1980s, be aware of hazardous materials like lead paint or asbestos. Never disturb these materials without professional testing and abatement—dust from these substances is highly toxic and requires certified containment and cleanup methods.
Protecting Sensitive Areas
- Use double barriers for rooms adjacent to nurseries, bedrooms, or home offices.
- Relocate pets and sensitive electronics during major work.
Conclusion: Peace of Mind Through Preparation
Home improvement projects don’t have to mean living in a cloud of dust. By proactively setting up a dust-free workspace, you not only streamline your renovation but also protect your health, your belongings, and your home’s long-term value. The effort you invest in preparation pays off with a cleaner, safer, and less stressful experience—one where the only thing left behind is a beautifully improved space.
Remember, even small projects can generate significant dust, and the best time to stop it is before it spreads. With the right barriers, air management strategies, careful tool selection, and daily cleaning routines, you’ll minimize mess and maximize satisfaction at every step of your home improvement journey. Whether you’re a DIY enthusiast or working with contractors, establishing these dust-control habits will serve you well in every future project. Here’s to cleaner renovations and a home you’ll love—without the lingering mess!
When you mention sealing off entry points to contain dust, do you have recommendations on the most effective materials or brands for painter’s tape and plastic sheeting, especially for long projects or high-traffic home areas?
For sealing off entry points, look for high-quality painter’s tape like 3M ScotchBlue or FrogTape, which stick well yet remove cleanly even after several days. For plastic sheeting, 4–6 mil thickness provides good durability for longer projects and areas with frequent use. Brands such as Husky or Trimaco are reliable and commonly used by professionals. Ensure the sheeting fully covers doorways and overlaps at seams for best dust control.
When you’re sealing off entry points like doors and vents as suggested, what’s the most effective way you’ve found to keep dust from slipping through gaps under old doors without damaging paint or flooring?
For sealing gaps under old doors, using a foam draft stopper or removable weatherstripping works well. You can also roll up a towel and place it along the gap for temporary protection. If you want a tighter seal, painter’s tape can be gently applied to the floor edge and door, as it’s designed not to damage paint or flooring when removed carefully.
If my workspace opens up to an open-concept area and it’s tough to create a full barrier, what additional steps can I take to prevent dust from reaching the rest of the house? Are there inexpensive solutions for homeowners with a tight budget?
If creating a full barrier is tricky, you can use plastic drop cloths or shower curtains to section off the workspace as much as possible. Seal gaps with painter’s tape, especially around doors and vents. Laying damp towels at entry points helps capture dust. Also, regularly vacuum with a HEPA filter and consider using a simple box fan in a window to blow dust outside. These are all affordable options that can make a noticeable difference.
How much time should I set aside to properly clear out and protect a medium-sized room before starting demolition? I want to make sure I’m planning realistically.
For a medium-sized room, you should allow 3 to 5 hours to fully clear out furniture and belongings, plus another 1 to 2 hours for prepping and protecting surfaces with plastic sheeting, painter’s tape, and floor coverings. If you’re working alone or dealing with lots of items or tricky obstacles, add extra time. Planning for a half day is usually realistic and helps avoid feeling rushed.
I’m on a pretty tight budget—are there affordable alternatives to things like zippered plastic door barriers and professional-grade drop cloths that would still do a good job of keeping dust contained?
Absolutely, you can keep dust contained without pricey materials. For door barriers, try using painter’s plastic sheeting or even heavy-duty trash bags, secured with duct tape around doorframes. Instead of professional-grade drop cloths, use old sheets or inexpensive plastic tarps from a hardware store. Just make sure everything is well-sealed at the edges for the best results.
For families with pets, is there anything extra you’d recommend beyond sealing rooms and covering belongings? I’m concerned about dust getting into places my dogs tend to hide or sleep.
Since pets like dogs often find unique spots to nap or hide, it’s a good idea to block off their favorite areas with temporary barriers or closed doors, if possible. Also, wash or replace their bedding frequently during renovations, and vacuum or mop around their usual spots daily. If they have crates or beds, cover those with washable cloths to help keep dust out.
Any tips on how long it usually takes to fully prep a renovation space for dust containment, including moving furniture and sealing everything before real work starts? I’m trying to plan out my project timeline and don’t want to underestimate how much time setup will take.
Prepping a space for dust containment generally takes longer than most people expect. For an average room, plan at least half a day—about 4 to 6 hours—to move furniture, cover surfaces, and thoroughly seal doors, vents, and windows with plastic sheeting and tape. Larger spaces or areas with lots of items to move could take a full day. Building in extra time for careful sealing will make cleanup much easier later.
How long does it typically take to set up this kind of dust-free workspace before you can actually start the renovation work? Is this something that can be done in an afternoon, or should we budget extra time for thorough prep?
Setting up a dust-free workspace usually takes anywhere from a few hours to a full day, depending on the size of the area and how thorough you want to be. For a single room, you can often get everything ready in an afternoon if you have the materials prepared. Larger spaces or more complex setups may need extra time. It’s a good idea to budget at least half a day for careful prep.